Renovating a Queenslander ( + what is a Queenslander?)
What is a Queenslander?
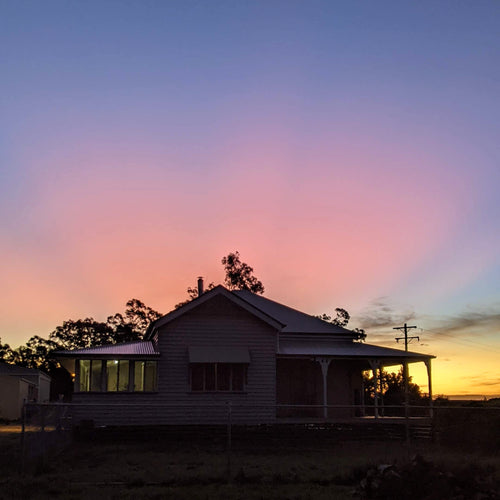
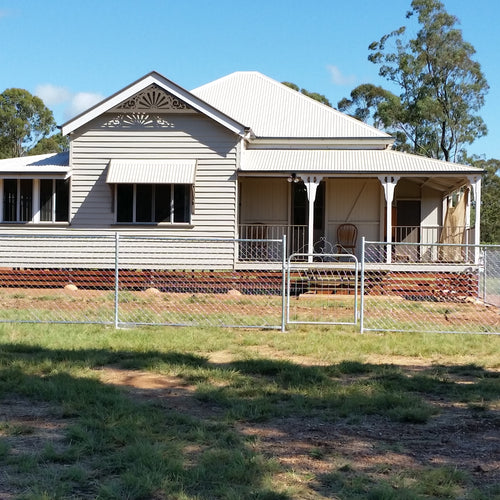
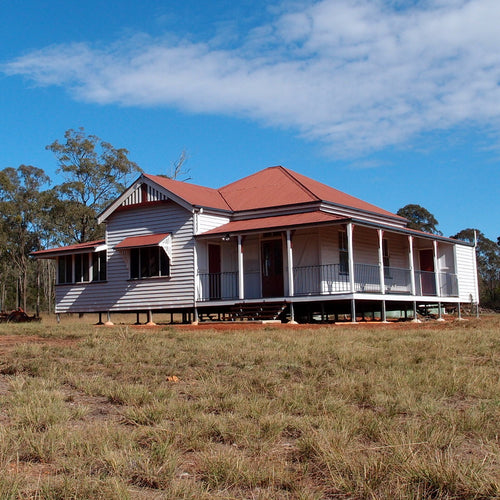
- timber construction with corrugated-iron roof;
- highset on timber (or metal) stumps (can be anywhere from 1 m to 2 m off the ground) ;
- single-skin cladding for partitions and sometimes external walls (i.e. vertical join (VJ) walls);
- surrounded by verandas front and/or back, and sometimes the sides;
- adorned with decorative features to screen the sun or ventilate the interior.
Why is your house on stumps?
- Before the invention of strong pesticide chemicals, this was the best way to prevent termites entering the house, by placing a termite tray on top of the stump, you can easily check for termite entry points (they don’t like to be exposed to light, so they build mud tunnels to get over the tray, or up metal stumps)
- Extra ventilation due to airflow under the house
- Prevents flooding of the house during tropical storms
- Less concrete is required, so it is cheaper than a slab house
- If its high enough, the space underneath can be a nice cool place to sit
Queenslander houses are a lot of work
But it must have had some effect on us, because when we saw that removal house for sale, we forgot all our issues with Queenslanders and bought it anyway!
Painting a Queenslander house
- Repeat after me “this is not a new house, it hasn’t been a new house for a long time, its never going to look like a new house again unless you want to spend a huge amount of time and money on it, accept this now and you will get your painting done before the next millennium”
- Remove all nails, screws, stickytape, bluetak, stickers and hooks from the walls and ceiling of the room, cover and tape up the brand new fans (that you had to install to get council approval, but it would have been nice to do this after you painted!).
- Start sanding – I recommend that you use at least one electric sander (we have four different sanders!) because this is going to take a lot of work. We don’t sand back to bare wood, as the first room had at least five coats of paint and the top coat was not in bad condition. If you sand off the gloss and then use a good primer, you don’t need to sand back to wood (repeat step one if necessary, or you will never stop sanding).
- Wash the walls with sugar soap – the paint can said to do this before sanding, but that seems like more work because you then have to wipe off the dust anyway, so we washed after sanding and made sure we got everything clean.
- Fill the gaps in the VJs – if you’re lucky they have been filled before and still look good, but we could see through the wall into the next room between some boards, and this may be because we had the house moved. We filled between all VJs that had a visible gap (again, step 1 helps here, we didn't fill gaps in the ceiling or we would still be gap filling to this day).
- Primer – its worth using a good primer, this stops the previous paint coming through, especially if its a strong colour or oil-based.
- PAINT! Finally you get to paint on your colour, what a huge amount of work to get to this step, but its going to look great. Two coats will ensure a good finish. We are using “Tapestry Beige” on the walls and “Light Leather” on the doors and door frames. It would be lovely to paint it all white, but when you live on red dirt and never have clean hands, its just not practical.
Have you renovated a Queenslander? Or an old house? Love them or hate them?
A secondhand house for Cheslen Rise
A tour of our secondhand house (BEFORE)
The story of our secondhand house - Part 1
Choosing insulation for our house
Renovating a Queenslander house
Building the Queenslander house - book review
Stairs for our secondhand house
Removing asbestos from our secondhand house
Another update on our house progress
How to choose exterior paint colours
And one more update on our house progress
Keeping our house warm in winter


Leave a comment