Renovating a Queenslander house - where to start??
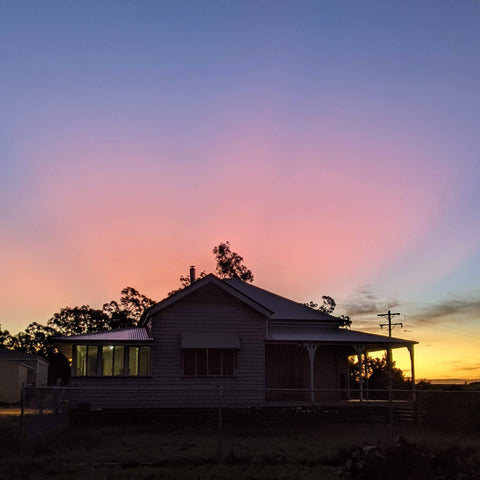
We bought our 258 acres property with no house, knowing that we would eventually build a house so that we could live on the property. While we were agonising over the exact type and layout of house we wanted to build, a small Queenslander house was advertised for sale on a nearby property.

We moved the house...
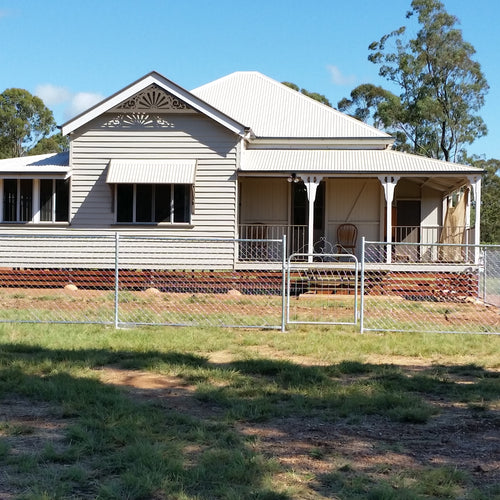
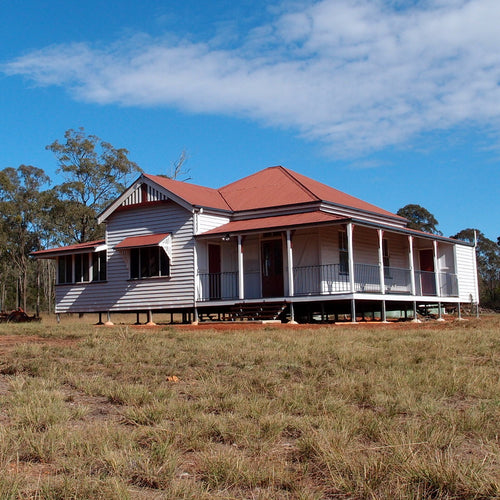
We had lived in a Queenslander house before, and we knew that they were a lot of work to maintain. We had actually sworn that we would NEVER live in another Queenslander house! But when we saw this little house advertised, and that it was in pretty good condition, we decided that it saved us making a lot of decisions about building a house.
We bought the house for $10,000. Then we had to pay to move it to our property. We had to re-do all the electrical wiring and plumbing. Add new stairs, replace the roof. Paint inside and outside. Gut the kitchen and bathroom completely and start again. Remove asbestos, add insulation in the roof. Re-finish the floors (which also meant adjusting the doors). And replace a few windows and an external door.
You can read more about our secondhand house: Part 1 and Part 2
I wrote another post specifically about where to start with removal houses back here, this most is more generally about renovating a Queenslander house.
Where do you start with a Queenslander?
A reader sent me a question about renovating. To paraphrase, she has just bought a Queenslander house in similar condition to our house when we moved it, and she doesn't know where to start with the renovation.
While I can't give specific advice, as every renovation is different, I can tell you generally how we got through our renovation. Here's is how I prioritised our renovation tasks:
1) Write down every job on a sticky note. Stay at a high level (paint bedroom, not buy paint brushes etc). Find a large piece of paper or a board where you can arrange your notes in order using the following steps.
2) Work out your milestones or targets. We had to pay a bond to the council before moving the house, and we had to complete the new stairs and plumbing to get our bond back. Getting our bond back became our first milestone, moving into the house was our second milestone. You might want to move into the house quickly, or at least have a functional bathroom and kitchen if you're living on the property, or have some other priority that you need to achieve. Draw a line down your paper to represent each milestone.
3) Assess all your tasks, and everything that needs to happen to achieve the milestone moves to the left and everything else is on the right.
4) Now you just have to arrange these tasks in a logical order. The tasks you need to do first go on the left. Some things can happen at the same time if you're using contractors (they can go down the page), some things will just have to wait until you have time to tackle them, so move them to the right. At least you know where to focus now. Do the bare minimum to achieve that first milestone, and then pick the next one.
For example, we knew from previous experience that getting the roof replaced makes a massive mess in the house, so we decided to do the roof before we started painting inside. Then we just worked from the smallest room to the bigger rooms.
You can also start to put a budget against each tasks, so you can get a feel for the total cost and when the expensive items are coming up. You may have to pause if you don't have enough cash to cover the next stage. We left the kitchen and bathroom to last, as we needed to save money for these more expensive areas.
If you are using contractors, contact them early and find out the wait times. We had to wait 4 months to get our roof replaced as there had recently been a storm in the area and roofing contractors were very busy. At the moment building materials might cause a delay too.
I would prioritise tasks that help you get any money back or reduce your costs (paying rent somewhere else, extra insurance fees), make you more comfortable or preserve the integrity of the house (i.e. a leaking roof is a high priority as its only doing more damage to the roof structure).
The sticky note plan
I had that plan on a piece of paper stuck to the wall and each time we completed a task I ticked it off. Gradually we moved through the plan from left to right and it was so good to see our progress. We could also move things around with the sticky notes or add more if needed. We could start to put dates on the milestones and see if we were on track to achieving them.
The project notebook
The other thing I did was write EVERYTHING in a notebook that I took with me everywhere. As we started working in each area of the house I had a list of things that we needed to buy from the hardware, order online, ask our contractors, tell the building assessor etc.
That way if we went to the hardware, I could just go through my notebook and we would get everything we needed in one trip. And if I got a spare minute to research something we needed (like ceiling fans) I knew what we needed next. I could also call contractors and tell them what we needed.
Sometimes you've just got to pick something
Although we mostly stuck to the plan, sometimes we would get bored with a certain task (like pulling the tacks out of the floor, throughout the ENTIRE house) and start something else, just to break up the monotony. Sometimes getting something done, even if its not really on the plan, is better than doing nothing, as long as it doesn't set you back. (If you end up making more mess in an area that was a high priority!).
And sometimes you just need to work on an area that's going to make you happy, otherwise all the hard work can really get to you. Its a really good feeling to get one area completed and looking beautiful, that can give you some motivation to keep going!
What do you think? Where do you start with a new renovation?
A secondhand house for Cheslen Rise
A tour of our secondhand house (BEFORE)
The story of our secondhand house - Part 1
Choosing insulation for our house
Renovating a Queenslander house
Building the Queenslander house - book review
Stairs for our secondhand house
Removing asbestos from our secondhand house
Another update on our house progress
How to choose exterior paint colours
And one more update on our house progress
Keeping our house warm in winter


Leave a comment