Designing the bathroom
Now we are finally ready to start rebuilding that bathroom! Here's sort of what I'm planning:
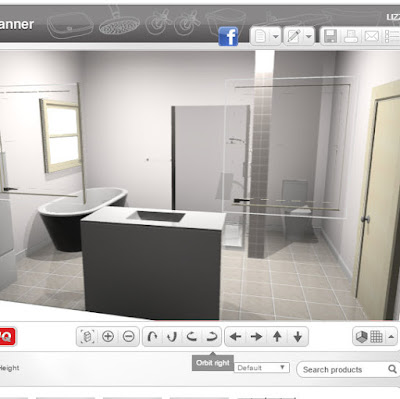 |
| here's a 3D view of the final design |
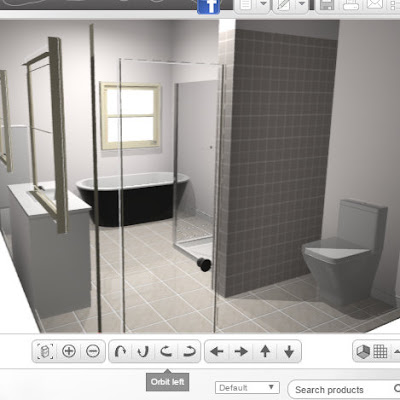 |
| view from the door |
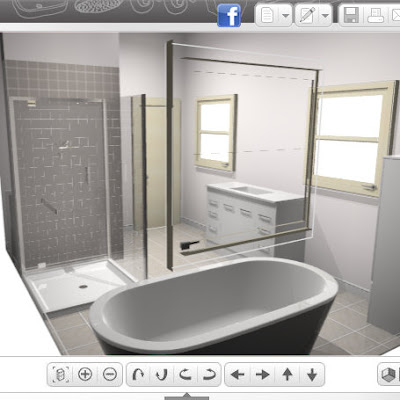 |
| View from the bath (you can't see the toilet!) |
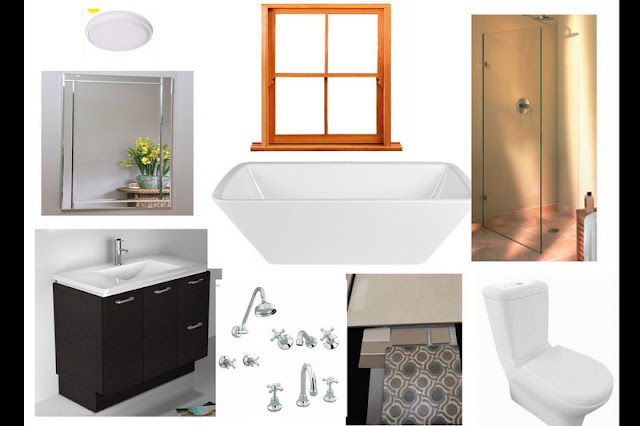
| here's the tiles again |
| this is what the bathroom used to look like! |
| and this is what it looks like now. |
- Its much easier to design your space once you've ripped everything out and sat in the empty room for a while (hours) and thought about it.
- There are some great (and free) 3D design tools (I used the Reece Plumbing bathroom planner) that can help you visualise different options - i.e. I tried moving the bath and shower into every possible different position until we settled on the final design.
- There are other free resources that can help. I used the Brisbane Library and got out many many copies of Australian Home Beautiful magazine, and they also had a couple of books just about bathrooms. I made Pete look at the photos and tell me what he liked and didn't like until I came to a bit of a picture of what we wanted to include in the bathroom.
- Get some prices early on so you know if you are being unrealistic (I found my PERFECT bath online, with no priced, then I saw the same one in a magazine - $4000!!!! I got something similar, cheaper and not quite so perfect!).
- Chose your tiles before you chose your paint (we did the opposite and I was surprised that we had limited options for tiles that would work with our neutral paint colour). By the way, Choices Flooring at Bald Hills were lovely and spent an hour with me working out my tiles.
- If anyone offers you free fittings, take them! A friend gave us unused/unwanted shower fittings and taps, which fit exactly with our design and that has saved us heaps :)
- Find a builder that will organise it all for you (I don't think we have any out here, but a friend in Brisbane found one who even took her shopping, sigh, I am organising the builder, the plumber, the electrician and all the fittings to be in the right place at the right time!)
- A big freestanding bath. We love taking baths!
- A walk in shower with a single showerscreen to clean (I hate cleaning baths)
- We were undecided about the vanity vs a pedestal (not sure about the durability of the MDF cupboards) but in the end we settled on a quality vanity and hope that it lasts
- Storage space - we'll be using the vanity drawers
- Toilet semi-hidden (we debated a separate toilet room, but this is the best compromise for the space we have to work with)
- Toilet "back to the wall" style - again, less to clean!
- Big mirror
- Simple lights that don't accumulate bugs
- No need for a fan as the three windows should provide ample ventilation
A secondhand house for Cheslen Rise
A tour of our secondhand house (BEFORE)
The story of our secondhand house - Part 1
Choosing insulation for our house
Renovating a Queenslander house
Building the Queenslander house - book review
Stairs for our secondhand house
Removing asbestos from our secondhand house
Another update on our house progress
How to choose exterior paint colours
And one more update on our house progress
Keeping our house warm in winter






Leave a comment