Winter Woodfires: installing a woodfire
Installing a woodfire is a complicated process! Of course we decided to do it ourselves, why pay an expert when you can figure it out yourself?
The hardest part is the weight of the woodfire. They are made of cast iron and range from 100-300 kg. This is not easy to move! The first woodfire we bought (a Nectre Baker's oven) was only 120 kg, which was lucky because it had to get into the top floor of our Queenslander! My husband borrowed a three-wheeled stair climbing trolley and he and a friend pushed and pulled the oven up our front stairs (while I watched, holding my breath, worried that the stairs would collapse). The second stove (a Scandia Cuisine) was 248 kg! Luckily this one only had to come into a low-set house. My husband backed the ute up to the verandah and we wheeled the oven off the ute and onto the verandah using a set of ramps and a SCA trolley (I was still holding my breath though!).
The next challenge was making a hearth. In the first house we were replacing an existing stove, so we just popped the oven down on the old hearth. The second house had no stove, so we had to build a hearth ourselves. Fortunately we had found some of the spare floor tiles under the house. There was just enough to build a hearth to go under and behind the oven (even with tiled floors, you still need a raised hearth to protect the floor). This meant that my husband had to build a frame from box section, to which he screwed fibro-cement board and then glued the tiles. This was our first go at tiling anything and its not as easy as it looks! My only advice is don't be stingy with the cement, or you will get cracked tiles, especially when you're putting 200 kg of oven on top (another one learnt the hard way!). Anyway, we got a suitable hearth built (note that you CAN buy these, but we chose to make life hard for ourselves and tried to match the hearth to the floor tiles) and positioned the stove.
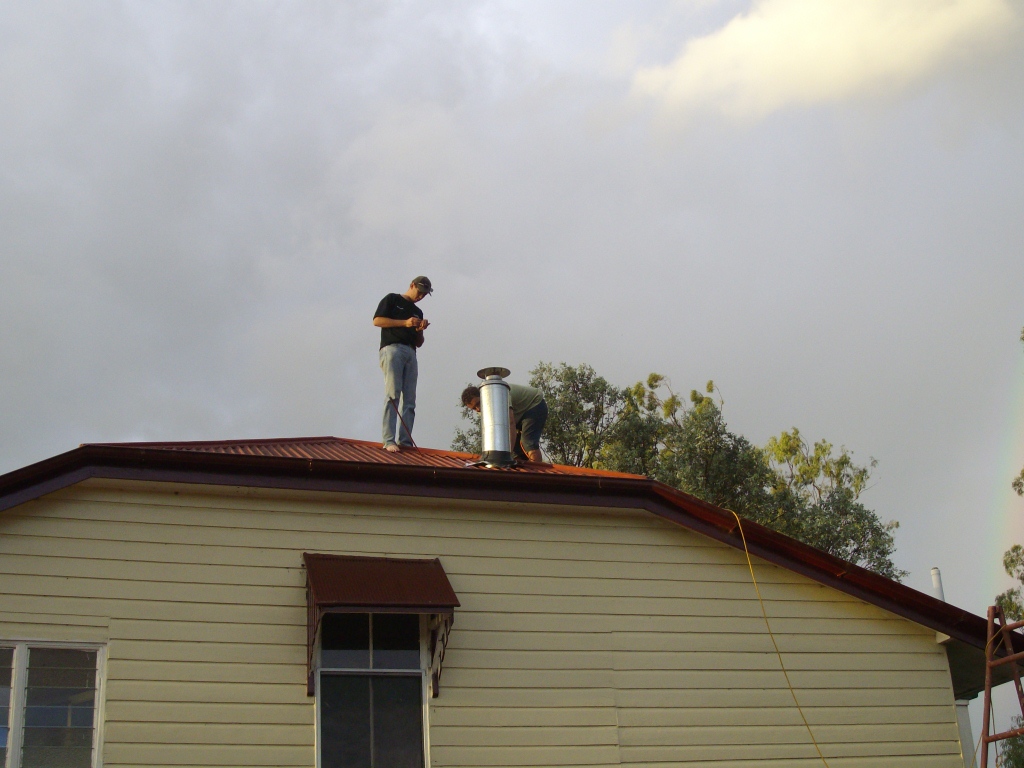
The next step was installing the flue. In the first house, it was easy as there was already a hole in the ceiling and roof from the old stove, so my husband just had to modify that and put it all together with the help of a friend. Again, you can pay someone to install the flue, but we thought we'd have a go ourselves! In our current house, we had to start from scratch, so first my husband worked out where the beams in the roof were and cut a hole in the ceiling, and then the roof (after lifting the tin), then we pushed the inner flue through the ceiling. Then I had to join my husband on the roof and help with the outer flue (scary!) and position the top hat. We screwed and riveted it together and put heaps of silicon around the "deck tight". In the end we had a water tight flue, so we thought it was a great success.....
Last winter we always had a bit of trouble with the stove. We found it difficult to start, the draft just wouldn't get established and the smoke would come out into the room. We thought it was a problem with the oven, so we contacted Scandia to ask their advice. They had two suggestions:
The hardest part is the weight of the woodfire. They are made of cast iron and range from 100-300 kg. This is not easy to move! The first woodfire we bought (a Nectre Baker's oven) was only 120 kg, which was lucky because it had to get into the top floor of our Queenslander! My husband borrowed a three-wheeled stair climbing trolley and he and a friend pushed and pulled the oven up our front stairs (while I watched, holding my breath, worried that the stairs would collapse). The second stove (a Scandia Cuisine) was 248 kg! Luckily this one only had to come into a low-set house. My husband backed the ute up to the verandah and we wheeled the oven off the ute and onto the verandah using a set of ramps and a SCA trolley (I was still holding my breath though!).
The next challenge was making a hearth. In the first house we were replacing an existing stove, so we just popped the oven down on the old hearth. The second house had no stove, so we had to build a hearth ourselves. Fortunately we had found some of the spare floor tiles under the house. There was just enough to build a hearth to go under and behind the oven (even with tiled floors, you still need a raised hearth to protect the floor). This meant that my husband had to build a frame from box section, to which he screwed fibro-cement board and then glued the tiles. This was our first go at tiling anything and its not as easy as it looks! My only advice is don't be stingy with the cement, or you will get cracked tiles, especially when you're putting 200 kg of oven on top (another one learnt the hard way!). Anyway, we got a suitable hearth built (note that you CAN buy these, but we chose to make life hard for ourselves and tried to match the hearth to the floor tiles) and positioned the stove.
The next step was installing the flue. In the first house, it was easy as there was already a hole in the ceiling and roof from the old stove, so my husband just had to modify that and put it all together with the help of a friend. Again, you can pay someone to install the flue, but we thought we'd have a go ourselves! In our current house, we had to start from scratch, so first my husband worked out where the beams in the roof were and cut a hole in the ceiling, and then the roof (after lifting the tin), then we pushed the inner flue through the ceiling. Then I had to join my husband on the roof and help with the outer flue (scary!) and position the top hat. We screwed and riveted it together and put heaps of silicon around the "deck tight". In the end we had a water tight flue, so we thought it was a great success.....
 |
| The first flue was easy to fit as there was already a hole (and I didn't have to help!) |
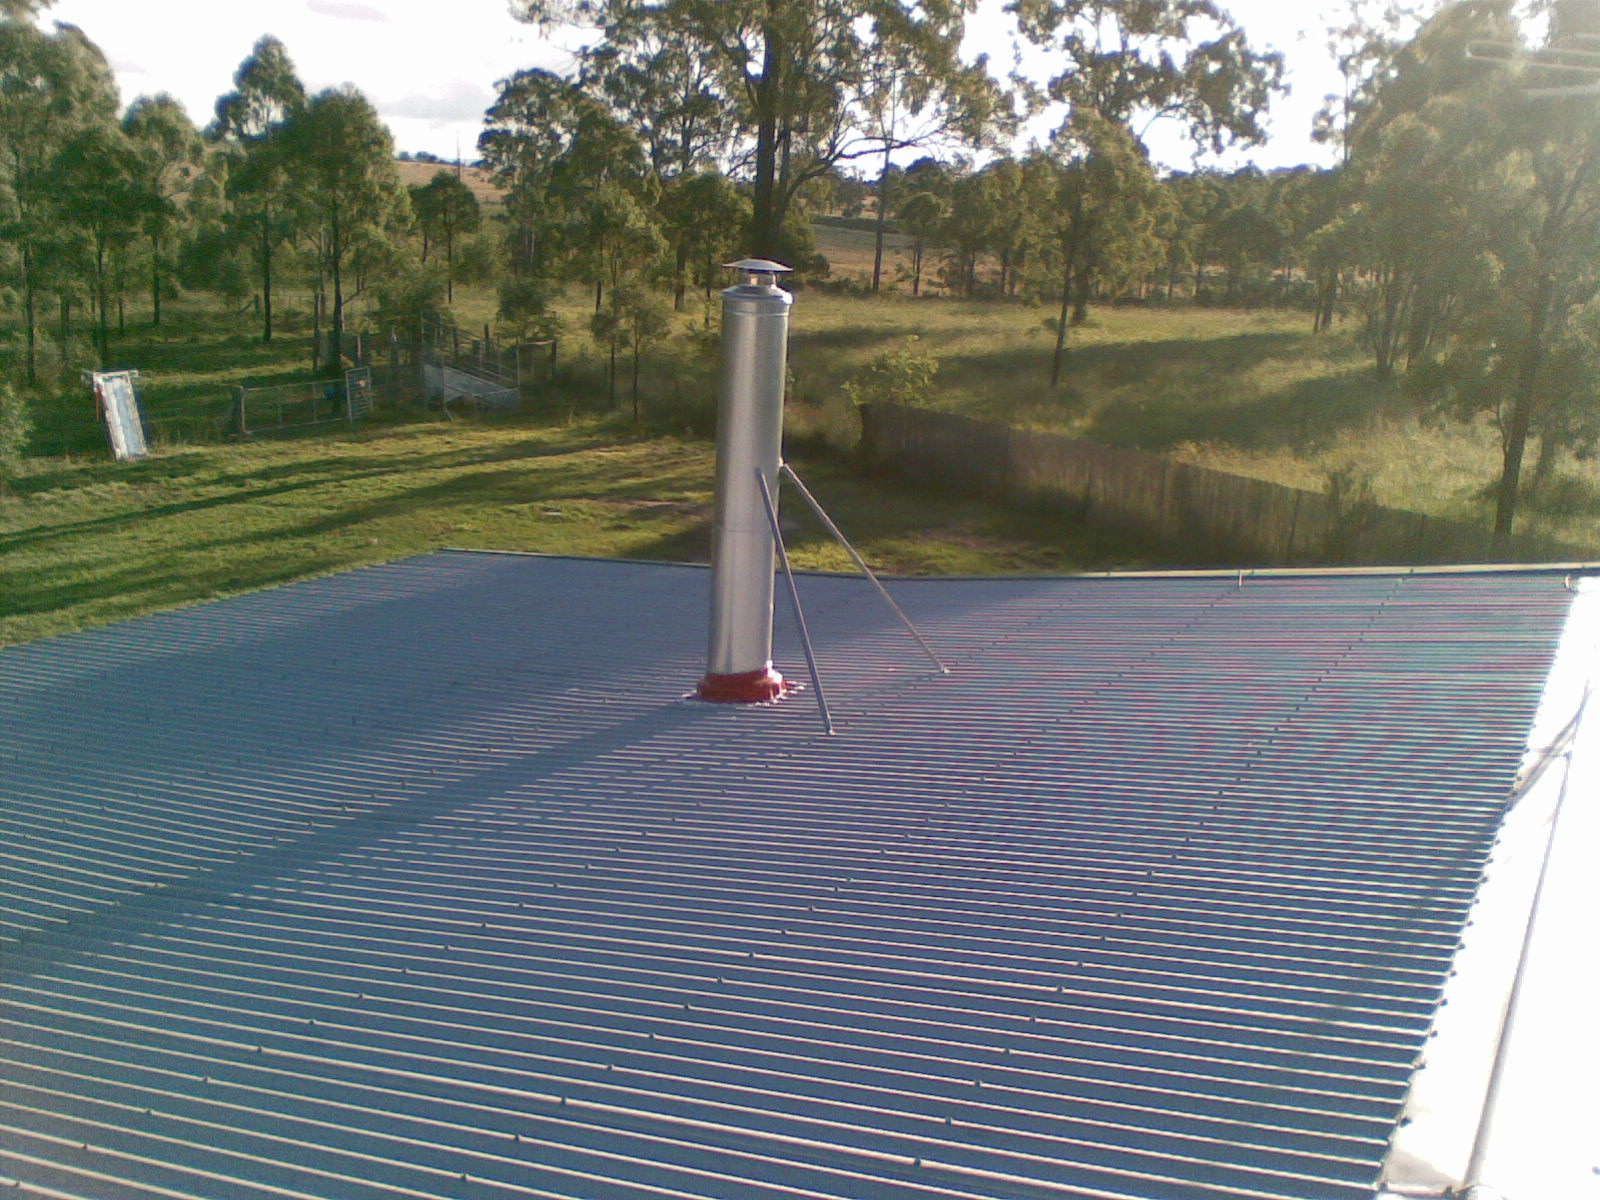 |
| The second flue was fitted from scratch, but I think we did a nice job. |
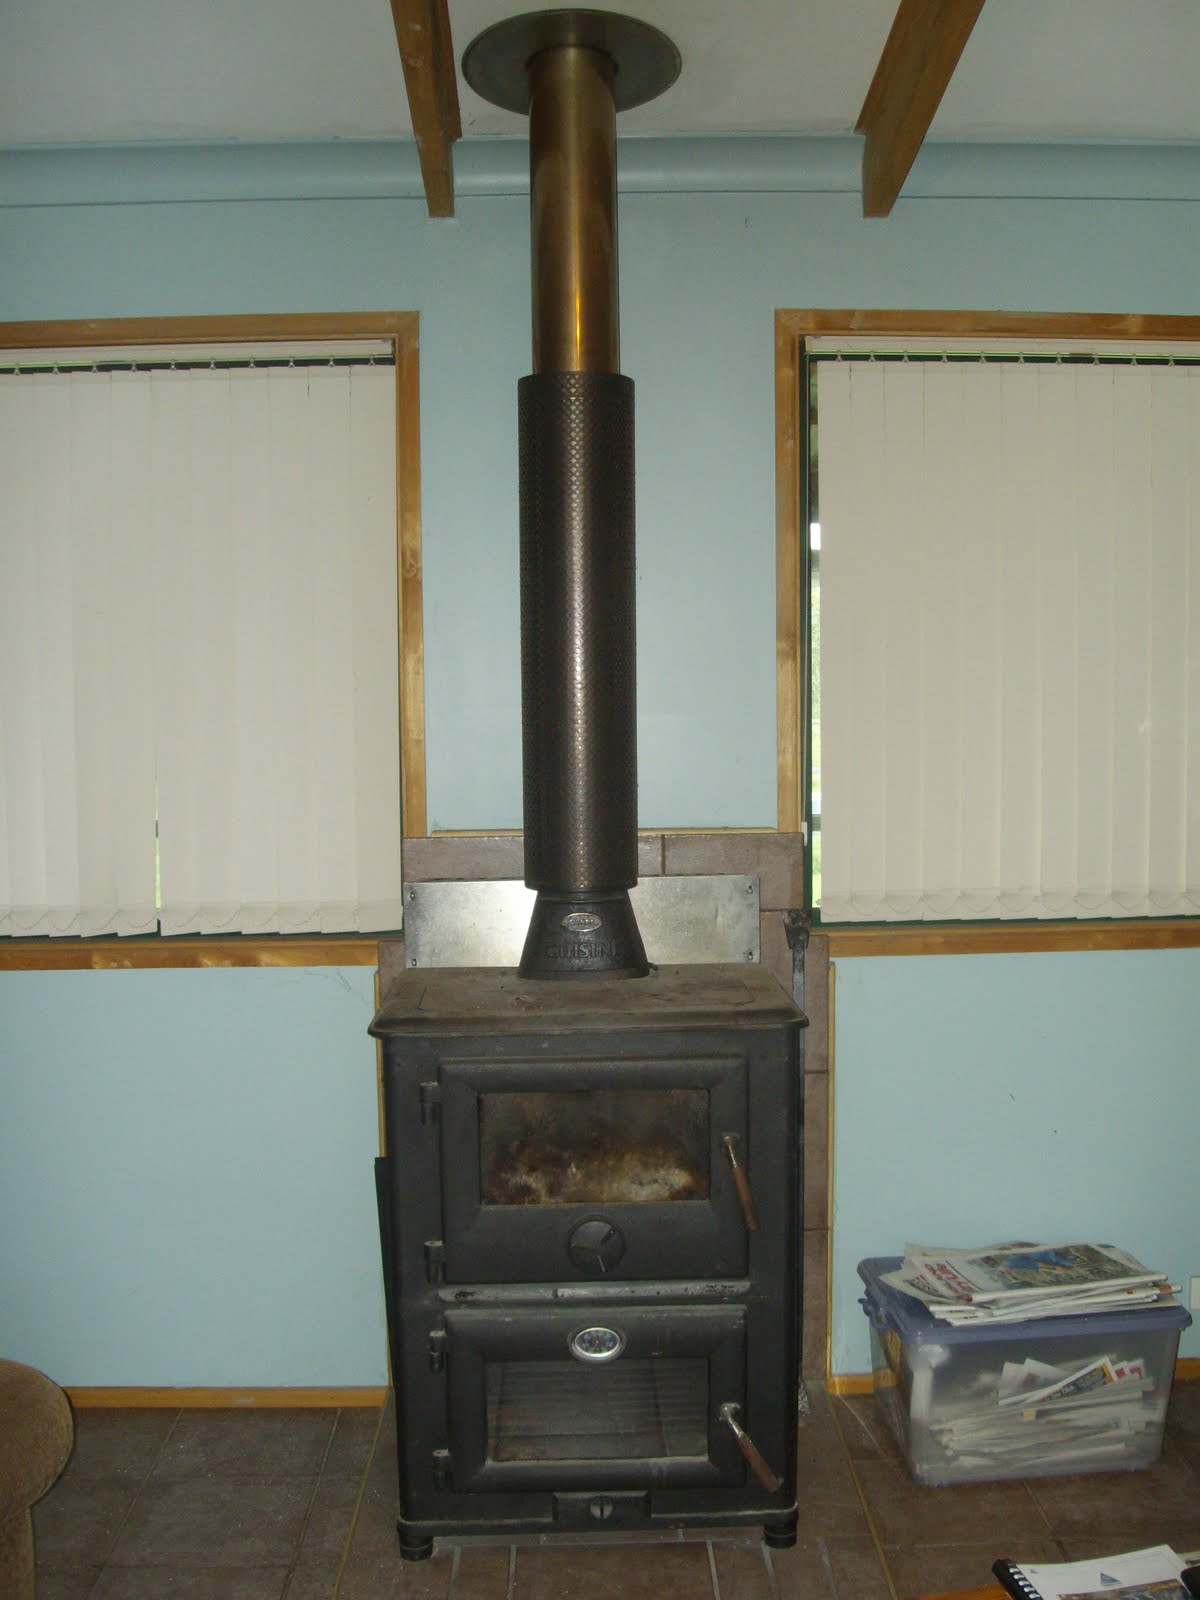 |
| The flue on the inside of the house |
- The flue may be blocked, so thoroughly clean the stove and flue
- Extend the flue, it should be 3.2 m long and ours was only about 2.8 m due to the flue kit we purchased and trimming to get the inside and outside to be the same length. (more info on backdrafting here)
- Use better wood (more about this here)
My husband was keen to fix the problem and started to clean the stove straight away. Copious amounts of creosote had apparently fallen down from the flue and were stuck in the internals of the stove, this was not a good sign (plus a major fire hazard). We decided to buy an extra section of flue (0.8 m). It was not a simple task to add this section to the flue as the new section did not fit exactly into the old sections! Its lucky that my husband can weld, or this would have been a disaster. He ended up carefully welding the new section to one of the old sections. This left us with one section of 1.6 m to put on the very top of the flue, which involved standing on things on the roof that we are definitely not allowed to do at work due to health and safety legislation! Anyway, we now have a ridiculously long flue coming from our tiny house.
 |
| We had to extend the flue to improve the combustion performance. |
Fortunately it was all worth the effort as we noticed the difference as soon as we lit the fire. The draft was established immediately. We had no trouble with smoke coming into the room at all. The fire roared! When we diverted the flue gas over the oven section, the oven heated up perfectly. We should be doing more cooking on it this year :) Bring on the roast potatoes! I was amazed that 0.8m could make such a difference.
Have you ever installed a woodstove?
Have you ever installed a woodstove?
Share this
Recent Posts


eBooks By Eight Acres
View all


Related Posts
-
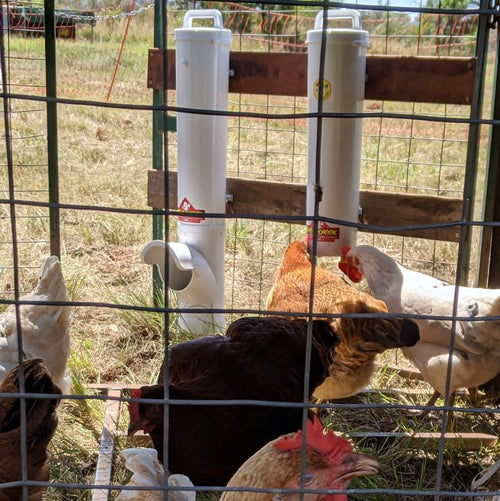
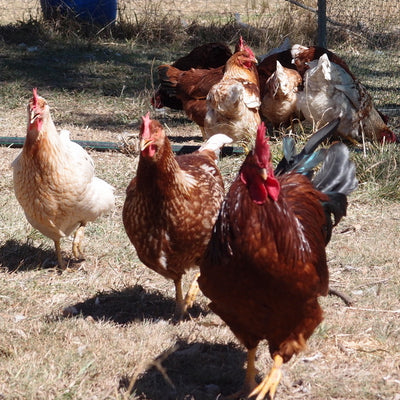
Chicken feed and water options
Chickens are really easy to look after. They only need a few things - somewhere warm and dry to sleep and lay eggs, r...
-

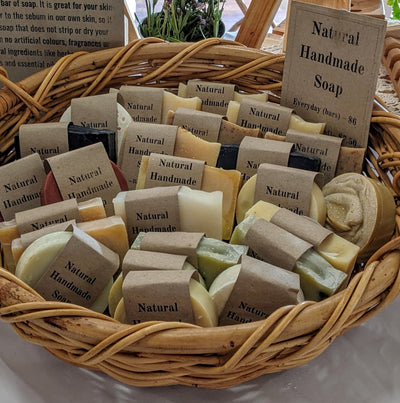
Why use natural soaps and salves?
It seems that soap has a bad reputation, but I think its all you need to use. I keep thinking about when one of my u...
-

Tips for starting vegetables from seeds
Its time to start planting for spring, and the cheapest way to grow your own vegetables is ito start from seeds (and ...
-

Pandemic prepping for non-preppers
In case you hadn't noticed... we are now dealing with a global pandemic of COVID-19. As countries are gradually closi...
-
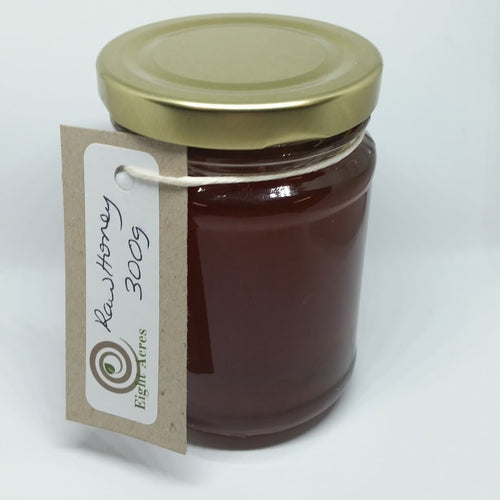
What is candied honey?
Our latest batch of honey has gone completely solid! I opened the tap on the bucket and nothing came out. Honey has...


Leave a comment