Our new woodstove
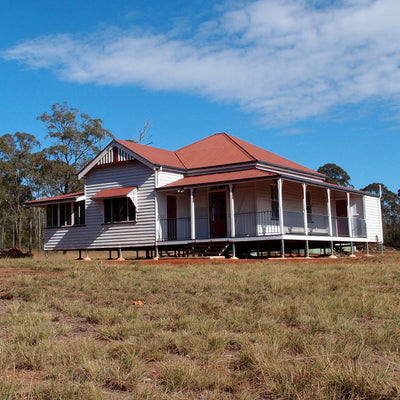
Since we finally moved into our secondhand house, one of the top priorities was to get the woodstove ready for winter. We bought the stove back in February when it was very hot and hard to imagine that we would ever need a fire, but of course we've lived in this area for eight years, and know very well that winter can bring very cold nights and frosty mornings as we are up in the mountains. Also being on the top of a hill, it is windy and old Queenslander houses are typically drafty, so we knew we would need it eventually.
I have written about woodstoves a few times. This is actually the third woodstove that we have bought and installed in a house. You'd think we would be getting better at it, but it still took an entire afternoon and most of the next morning (with a plastic bag taped over the flue overnight!). This is what I wrote before about installing a woodstove, the two tricky parts are moving the very heavy stove and getting the flue right.
Here's a bit of an overview of the different stoves that we've tried and then I'll show you what we chose to do this time.
Woodstove #1: a Nectre Baker Oven, which I wrote about back here. It was compact, but heated up quickly and I could cook anything from bread to roasts in the oven and anything on top, which was lucky because the oven in that house was terrible. It didn't stay hot all night though.
Woodstove #2: a Scandia Cuisine - similar to the Heat and Cook available from Bunnings, but our model was made in Australia before they moved manufacturing to China (also in the post linked above), This was a much larger stove, so it took longer to heat up but stayed warm all night and into the following day after the fire had gone out. It was very well made, with my favourite feature being the removal ash tray, so easy to clean out. We didn't use this one to cook as much because we had a nicer gas cooktop in that house and we get a Weber BBQ, which we used for roasts and baking as it heats up more quickly. And while we still used the top of the woodstove to heat water, cook casseroles and curries and keep things warm, we stopped frying as it tended to fill the house with smoke.
I posted a while ago about choosing a woodstove and at the time we were still thinking of getting one with an oven. However, on reflection, we decided that we didn't need an oven this time because 1) we still have the Weber BBQ and 2) we will have a nice new kitchen and 3) we want to put the woodstove in the lounge and that is separated from the kitchen by a narrow hallway which is not ideal for carrying hot food.
At least from that post I had worked out the size of our house and had a rough idea of the size of woodstove we would need. We visited our local plumbing supplies shop to see what they had in stock. The last two woodstoves had been delivered from other states and collected from depots in Brisbane, which was a pain. Our local store had a good range. The two things that were most important to us (apart from getting the right size for heating the house) were 1) good quality (ideally made in Australia to support Aussie jobs) and 2) ability to heat water or a casserole on top of the woodstove, as I still think that is worth doing.
We also briefly looked at wet backs (where you can heat your hot water in the back of the woodstove). It seemed like a good idea in theory, but I hadn't realised how complicated it is! You need extra tanks and pumps (more info here) and they are not cheap. As we do intend to install a solar hot water system and have mostly fine and hot days here throughout the year, we decided that would be a better investment.
After looking at everything in the shop, we decided on the Aranbe heat 160. It is a little oversized for our house (rated at 160m2, our house is just over 130m2), but that should be good if the house ends up being drafty and its the smallest stove they make. At first we were tempted by the 160R (radiant heat) model, as it has the cooktop surface, however, the salesman explained the difference between convection and radiant heaters and I felt very silly for not knowing this already, but the convection heater is more efficient at heating the room as it actually draws air in the sides over the hot part of the woodstove and naturally circulates the air (our model also comes with a fan), whereas the radiant heat just heats the air around it, so you need to be in a direct line with the fire to get warm, like the difference between a fan heater and a bar heater.
Most convection ovens are cool on the top and sides because they have false sides/top to create that air flow, so I wasn't happy about a cool top and not being able to heat water BUT the Aranbe 160 actually has half of the top exposed, so it does get hot, which is a great compromise between efficient heating and a little bit of cooking access.
After much discussion over placement, we ended up putting it where the old woodstove was and just knocking out the hole in the ceiling that Pete had carefully filled! We looked at buying a hearth, but the colour options were not great, so we decided to refurbish the old hearth (it had cracked tiles). Pete knocked off the old tiles and fibro and cut down the frame, replaced it with new fibro, tiled with leftover tiles from the bathroom, grouted and attached the same skirting board we have in the rest of the house. It looks lovely and matches the rest of the house.
We got an extended flue kit to make sure that it would fit out through our high ceiling and near the top of the roof peak. You'd think we would know this by now, but we failed to get all the bits out of the flue kit and line it all up to see how it was going to work. We weren't really committed to finishing the job that day, so we were just kind of mucking around and getting bits out of the box, this resulted in annoying rework and the overall job taking longer than it needed to, including cutting a hole in the roof about an hour before dark, not clever. Added to that, we have only one long ladder, which was needed for accessing the roof cavity and getting on the roof, it came in and out of the kitchen way too many times. One good thing was that I somehow avoided having to get into either space and got to be ground support instead (I don't like heights, but I get up there if I have to help!).
Somehow Pete managed to get it all together (both of us wondering why we don't just pay people to do this stuff! but at least now we know its done right - some of the trades we've had working on the house have not had Pete's standard of workmanship). And we lit the first fire right away, to test it all so we can put the ladder away. So far it had excellent draft (up the chimney) and seems to burn really well, and easily heats the lounge and master bedroom with other doors shut. It will get a real test when it gets proper cold later in the week.
The best part is that we only had to drive 500m from the house to find a suitable pile of aged wood to cut our firewood! No most carting ute-loads of wood home! I reckon there's 20 years supply on this property just in piles, without even needing to cut any more trees.
Other posts about woodstoves
Do you have a woodstove? Did you install it? How did you chose which one to buy?
Share this
Recent Posts


eBooks By Eight Acres
View all


Related Posts
-
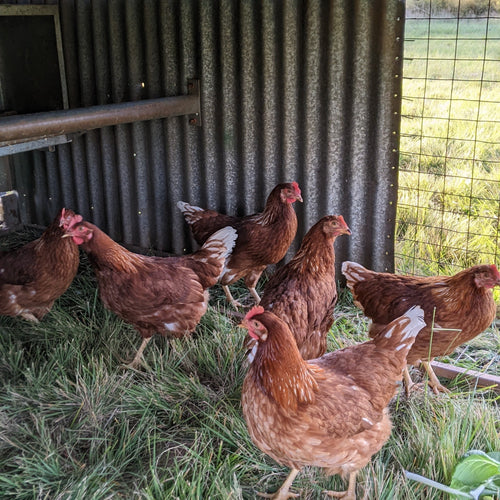
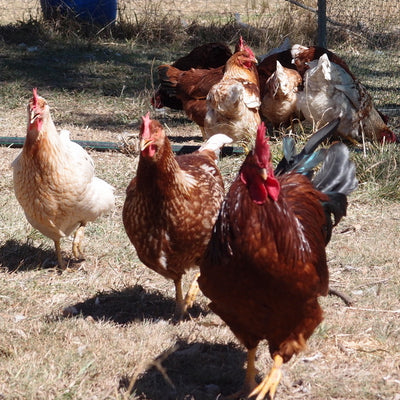
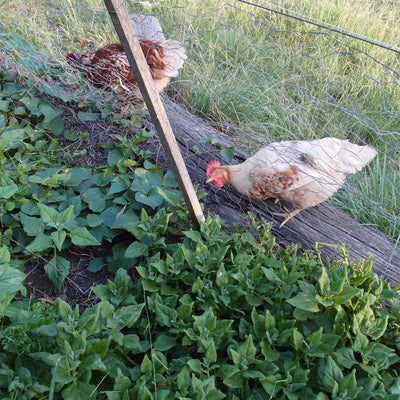
Should I be worried about bird flu in Australia?
Jump to the end if you just want a summary, or read the whole story about why we've bought more laying hens (read mor...
-

A Simple Christmas
Do you find this time of year stressful? I used to, but over the last few years we have made a few changes and now C...
-
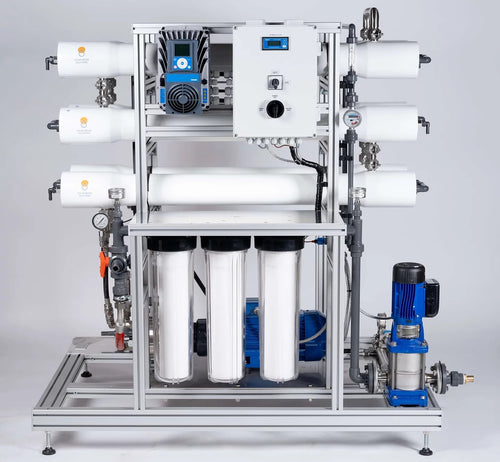
Understanding Desalination: How to remove salt from bore water
Water security is a massive priority for us, particular in dry seasons. We have a few bores on our property, and at t...
-

Winter lip balm (with chamomile)
I've been making my lip balms with macadamia oil and beeswax (peppermint, lavender and honey flavours), but in winter...
-

My new raised garden beds
We have been in our "new" house in Kumbia for nearly two years and thing I've missed the most is not having a proper ...


Leave a comment