Winter woodfires: how to light a fire
I learnt to light a fire when I was in Girl Guides. Actually, to be more precise, my dad taught me to light a fire when I wanted to get my Camp Cook badge! From then on I used to light the wood stove at my parent's house when I got home from school on cold winter days. Fire lighting is a surprisingly useful skill and I think there's a few people around who have missed out on learning it, so here's my method.
Lighting a fire in a woodstove is a bit different from a fire outdoors, as it is really important to establish a draught. That means that as the hot air and smoke rises out of the fire and up the chimney, fresh air is sucked in through a hole in the door. If you don't have a draught, the fireplace will just fill with smoke and the fire will suffocate due to lack of oxygen. Before starting the fire, ensure that the baffle that closes off the chimney is open and the vents in the door are fully open as well.
I usually start with a few balls of scrunched up newspaper and lots of small pieces of kindling. Kindling can either be sticks picked up from the paddock, or small pieces split of larger blocks of wood. I arrange the kindling in a "tee-pee" around the balls of newspaper and light the newspaper as low down as possible (because flames tend to climb). If you light an edge or tear in the paper it will start more easily. I then close the door of the firebox, but I don't latch it closed, so there's lots of gaps that air can get in through.
This is when you know if you have a draught, when the air starts to suck in through the door and the smoke goes up the chimney, you have a successful draught, the fire should start to "roar". If the firebox fills with smoke, then you don't have a draught yet. The best way I have found to fix this temporarily is to scrunch up another ball of newspaper and put it up as close to the chimney outlet as possible, either let it light off your current fire or light it again yourself and then close the door. Often this is enough to get a draught working, or you may have to repeat it a few times. For more details on permanent fixes, see my earlier post on our chimney extension!
When you have the draught established you can start adding gradually larger pieces of wood until the fire is established enough to take a large log. Eventually you can start to close the vent on the door to restrict the oxygen and slow down the burn to control the heat coming from the fire. You can also close the baffle that sends the hot air up the flue, in our case this will direct the air around the oven so we can cook with it. On plain stoves without an oven, this will just allow the hot air to circulate longer instead of sending all that heat up the flue. When you add another log, always open the flue so the creosote/tars that are produced from the log as it starts to burn go up the flue instead of getting stuck around your stove, as this can be a fire hazard.
Lighting a fire in a woodstove is a bit different from a fire outdoors, as it is really important to establish a draught. That means that as the hot air and smoke rises out of the fire and up the chimney, fresh air is sucked in through a hole in the door. If you don't have a draught, the fireplace will just fill with smoke and the fire will suffocate due to lack of oxygen. Before starting the fire, ensure that the baffle that closes off the chimney is open and the vents in the door are fully open as well.
 |
| newspaper and kindling |
This is when you know if you have a draught, when the air starts to suck in through the door and the smoke goes up the chimney, you have a successful draught, the fire should start to "roar". If the firebox fills with smoke, then you don't have a draught yet. The best way I have found to fix this temporarily is to scrunch up another ball of newspaper and put it up as close to the chimney outlet as possible, either let it light off your current fire or light it again yourself and then close the door. Often this is enough to get a draught working, or you may have to repeat it a few times. For more details on permanent fixes, see my earlier post on our chimney extension!
 |
| closing the door and waiting |
 |
| building up to larger pieces |
Any fire-lighting tips? Who taught you to light a fire?
Other posts about woodstoves
Share this
Recent Posts


eBooks By Eight Acres
View all


Related Posts
-
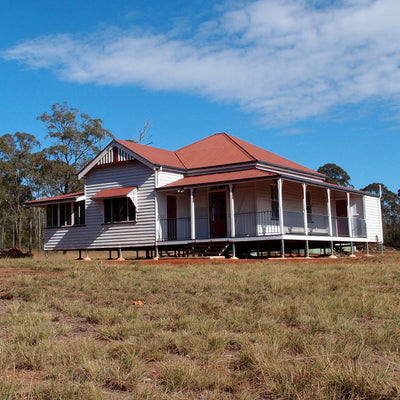
Renovating a Queenslander house - where to start??
We bought our 258 acres property with no house, knowing that we would eventually build a house so that we could live ...
-
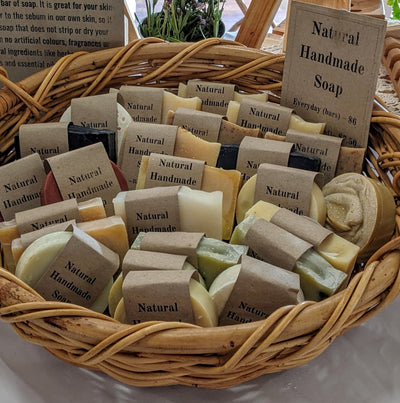
Eight Acres Soap is Different!
The mass-produced soap that you buy at the supermarket likely contains all sorts of synthetic colours, fragrances and...
-

Removal house advice - where to start?
A removal house is a great way to quickly put a house up on a bare block of land. For us it bypassed all the decision...
-

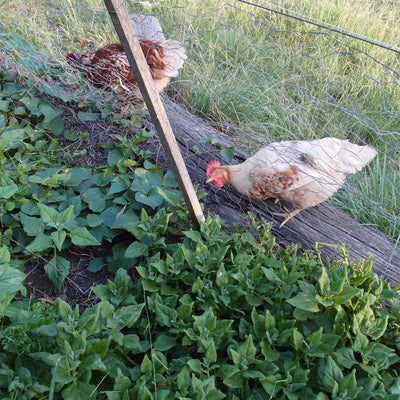
Weird vegetables in my sub-tropical garden
I've had some questions about the weird vegetables in my sub-tropical food garden, so here are some details for you. ...
-

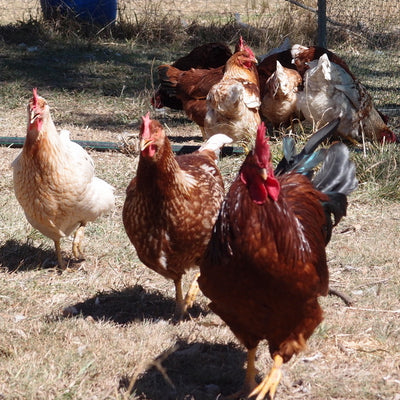
Butchering Poultry
Last weekend we got up early and prepared for a morning of killing poultry, not my ideal Saturday morning, but the ti...


Leave a comment