Around this time last year, Linda from the
Greenhaven Goodlife kindly sent me some wool and needles to make socks as part of her
one year anniversary giveaway following on from Linda's own
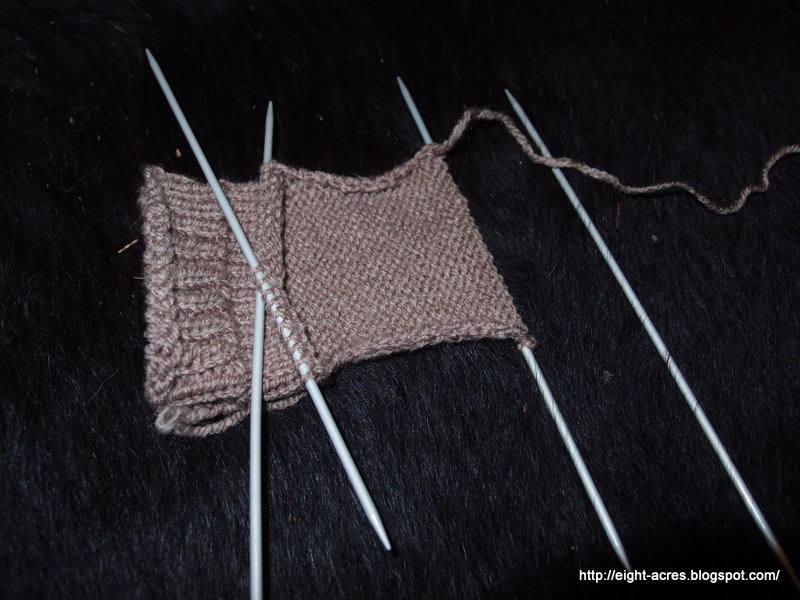
sock knitting successes. I made several attempts to start the first sock and I got this far before I put away the knitting in summer. When I pulled out the sock to start again, I tried it on and realised that it was going to be one very long sock. I think I added a lot of stitches as I went around and got all mixed up with ribbing the fine yarn. So I unravelled the whole thing and thought about starting again.
 |
| The first sock was going to be very long |
But this time I thought I'd better find the right pattern. I was trying to use the pattern that was on the yarn label, but that was for five needles and Linda only sent me four needles. In hindsight it probably would have been easier to just buy myself five needles, but I was determined to just use the four, so I went looking for a pattern. All my pattern books and most of the free patterns on the internet used five needles, but I found a youtube video with four needles, so I knew it was possible.
I finally found a pattern, and it suggested using a thicker yarn for your first sock attempt, and I thought I'd better just stick to the pattern for my first sock and then I might be able to work out how to use the yarn that Linda sent me after that. It was good advice because thicker yarn does knit up very quickly and its far more satisfying that going around and around with thin yarn.
The pattern was a little bit confusing, but I found some good
youtube videos that really explain the sock process in general, and on four needles.
Putting it all together, this is my version of a simple sock pattern for four double pointed needles.
At any one time, the stiches are distributed over three of the needles, with the forth needle used to knit the stitches and then become part of the three in use, while the one that had the stitches becomes the spare needle…. you’ll see what I mean when you start knitting! Also this tutorial might help.
To start the sock you need to cast on. The number of stitches you need is going to depend on the yarn weight, the needle size and your foot size, and it must be divisible by 4 so that the rest of the pattern works. For example, I used 9ply, 2.5mm needles and a size 8 women’s foot, which worked just perfectly with 40 stitches. Now that I know that the sock needs to be about 4 inches across, I can use different needles and yarn to produce about the same width, as long as the number of stitches divides by 4.
See this generic sock pattern for more info on the number of stitches you need.
After casting on 40 stiches, for example, they are then split between the three needles in use, half on one needles and a quarter on each other needle. You then work around to form the cuff. Usually this starts with a ribbing stich – knit one, purl one, or similar, until the desired length of ribbing is completed, followed by knits until the cuff is long enough.
Next comes the heel flap. This is created by working only the needle with half the stitches on it, in alternate rows of knit and purl, instead of going around and around. When the heelflap is the same number of rows as the number of stiches on the needle, we start to “turn the heel”. This is done by decreasing the stiches towards the outside edges of each row. There are lots of different ways to turn the heel, I just follow the pattern carefully and am amazed when it works. For different numbers of stitches, refer to
this site.
When the heel is turned, you need to then pick up all the stiches along the edge of the heel flap and start to reduce the stitches to create the gusset. With the right side of the work facing you, and yarn on the right hand side of the needle, use the spare needle to pick up the end of each heel flap row and knit it onto the needle with all the heel on it. Then knit around the other two needles (its easier at this stage if you put all these stiches on one needle) and continue to pick up the other side of the heel flap.
Now you need to re-arrange the stiches so that half of your original number of stiches (in this case 20) on the top of the foot are on one needle (already done if you followed my suggestion above) and then half each of the remaining stiches are on each of the other two needles. In this case, if you reduced your heel flap to 12 and picked up 30 stiches on each side of the flap, you end up with 72 stitches in total, 36 on each needle. Now you form the gusset by reducing the number of stiches on each of the 36 stitch needles at the end that joins to the 20 stitch needle. Working around, the first decrease one is a SSK, the second is k2tog.
For example:
Needle 1: Knit to last three stitches, k2tog, k1
Needle 3: K1, SKP, knit to end of needle
Continue until you have the original number of stiches back on the needles. In this case it will be 20 stitches on the top needle and 10 on the other two needles. Now you just work around and around, try on the sock occasionally and continue around until you reach about 1 inch from the toe of your foot.
Now its time to form the toe of the sock. This time you decrease on the top and bottom of the sock.
Needle 1: knit to last 3 stitches, k2tog, k1.
Needle 2: k1, ssk, knit to last 3 stitches, k2tog, k1.
Needle 3: k1, ssk, knit to end of needle.
Alternate decrease rounds and even rounds until about a quarter number of original stitches remain (in this case 10, but as you remove 4 stitches at a time, it works out to be 12 remaining) and distribute these evenly on 2 needles to finish the sock. Again,
there are a number of ways to finish a sock, I found kitchener stitch was ok as long as I had a few minutes to concentrate and say the stitches out loud!
Is it worth the effort?
Yes! Once you get through the first one or two socks, and understand the pattern, it becomes very quick and easy to generate socks. They are fiddly, but they are small, so its not a huge project to take on and you get rewarded with a finished sock relatively quickly. It’s a wonderful feeling to know that you can create a sock, that you will never have to buy socks again, and that something that seemed so complicated is now easy suggests that maybe you could knit just about anything if you just sat down and concentrated for long enough! Now that I’ve mastered socks, I finally feel ready to try that vest.
Actually all the techniques I need for the vest are found in a sock - ribbing, decreasing, knitting in the round, picking up stitches to do the arm-holes. I'm feeling quite confident now! I never thought that I would recommend socks as a beginner knitting project, but they are so quick, and not much to unravel if you make a mistake, its worth a try once you're ready to tackle reading a pattern.
Have you or do you knit socks? How many needles do you use? Any tips?
See below Amazon Affiliate links for a few knitting books that I find useful including the one I mentioned above. If you buy through these links I get a small commission at no extra cost for you. If you're reading this on email or blog reader, you will need to visit my blog to see all the links.
Previous posts about knitting and crochet:


Leave a comment