How to make crochet socks

Crochet Socks Step 1: the ankle
This is crocheted as a rectangle that is later folded in half and sewn together to form the top of the sock. Chain as many stitches as you need to get the length of the sock from your angle upwards. Then crochet back and forwards until the rectangle wraps around your ankle. The key is to keep your crochet neat and square. My first attempt was not a rectangle, so I had to unravel and try again, otherwise it won't sew up neatly. The pattern says to sew the seam together at the end, but I hate sewing things at the end, it seemed quicker and easier to just crochet it up when I was ready, I used single crochets to join the seam. It does for a bulky seam, but these are bed socks, so it doesn't matter, then the seam is done and you can keep going without cutting the yarn or having to come back to it later.
 |
| Start with a chain as long as the sock ankle needs to be |
 |
| try to form a neat rectangle |
 |
| sew the ends together when it fits around your ankle |
 |
| like this |
Crochet Socks Step 2: the heel flap
For this part you start working around the sock in each of the gaps left between stitches in the ankle. I think this part is easier if you've already sewed up your seam. When sewing around you are supposed to do a chain at the end of the row to step up to the next row, but I always forget where my rows are, its much easier to just keep going around and for a sock it does't really matter. The pattern says to go around twice, I think I went around a few more times, the main thing is to remember what you did one the first sock if you want the second sock to look the same (mine are different!).
When you've gone around enough times you want to start crocheting a flap at the back of the sock. Assuming you want that seam at the back, I just fold it in half with the seam at the back and judge where the flap needs to start, then instead of going around, you crochet back and forth for a while. The pattern says 12 rows, but I always lose count, so best to try on the sock and make sure that the flap reaches the length of your heel.
 |
| starting the heel flap |


 |
| the heel flap |
Crochet Socks Step 3: Turning the heel
 |
| turning the heel |

Crochet Socks Step 4: The gusset and foot

Crochet Socks Step 5: Toe shaping

 |
| one completed ugly sock |
What do you think? Have you ever crocheted a sock? Did you think it was easier than knitting? Are you going to give it a try?
See below Amazon Affiliate links for a few knitting books that I find useful including the one I mentioned above. If you buy through these links I get a small commission at no extra cost for you. If you're reading this on email or blog reader, you will need to visit my blog to see all the links.
Previous posts about knitting and crochet:
1 comment
Share this
Recent Posts


eBooks By Eight Acres
View all


Related Posts
-
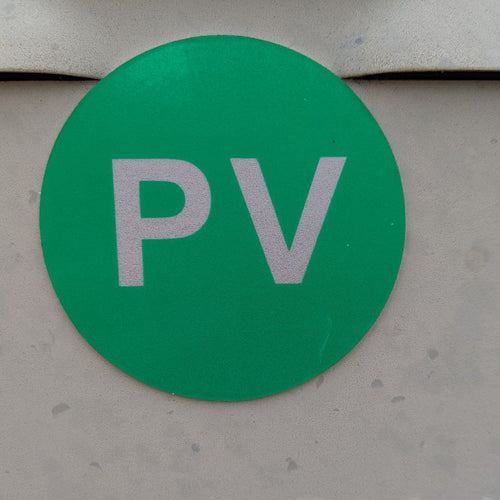
We put solar panels on our shed roof
We have been talking about getting solar for about 10 years and last week our electrician came to set up our new syst...
-
Ten renovation projects you can start while in quarantine
Chances are, you’ve recently had to grapple with the reality of quarantine, or at least spending more time at home, a...
-

Weird vegetables in my sub-tropical garden
I've had some questions about the weird vegetables in my sub-tropical food garden, so here are some details for you. ...
-

Where should I start with a new property?
I got a question from a reader about where to start with a new property. Pete and I have started two new properties ...
-

Book review: Waste Not - make a big difference by throwing less away
I have been following Erin Rhoad's blog The Rogue Ginger for years, and I love her clever tips for reducing waste. I...


I love the look of your crochet socks, however I need to learn how to crochet first. Thankfully youtube can teach us everything these days.Pauline :)
Leave a comment