Caring for baby chicks
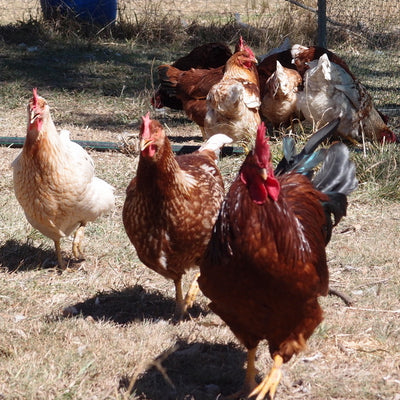
We collect eggs in spring until we have enough for the first incubator run and aim to hatch about 12 chicks a season, so we do as many runs as we need until we have enough chicks (this should only take one run, but as I mentioned above, it hasn't been easy this year). The aim is to get about 6 new replacement hens and 6 roosters to grow up and eat (and maybe one to replace the old rooster or to sell), give or take a few, this seems to be about the right number. Roast chicken is a bit of a treat here, because its such an effort to kill and dress the birds for dinner, but when we do have them, they taste really good. Anyway, just thought you needed a bit of background info about the number of chicks we're talking about, now back to the chicks.....
 |
 |
 |

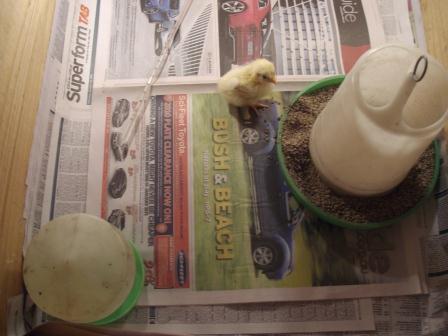
I usually line the box with newspaper and change it every few days as it gets smelly. Then I put the newspaper in the compost bin, complete with chicken poo goodness (sometimes I also soak it in water first, as this helps it to break down, it also helps to rip it up quickly into smaller pieces, however the chicks often help by spilling their water everywhere anyway).
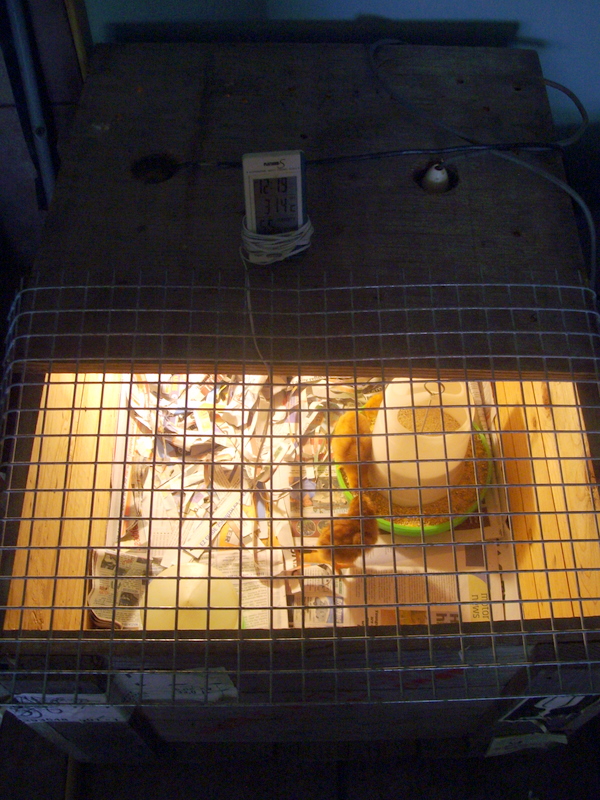
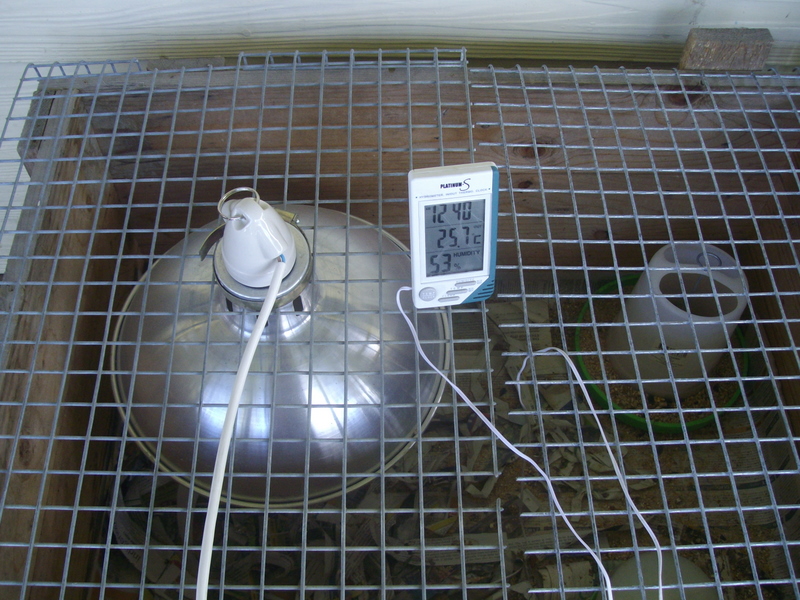
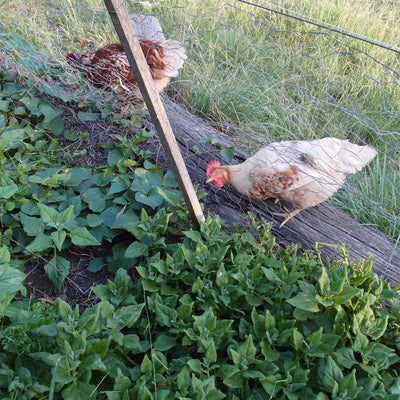
Depending on the time of year, the chicks only need the heat lamp until they have a few feathers. Particularly in summer, we can turn off the lamp after a week and after two weeks they can go outside in a small bird cage. I put them in the garden during the day (just in case the kelpies take an interest in getting the cage open) and out on the grass in the afternoon and then under cover at night. They seem very happy with that! When they are big enough not to climb out of the chicken tractors we put them into the smallest tractor and watch them GROW.
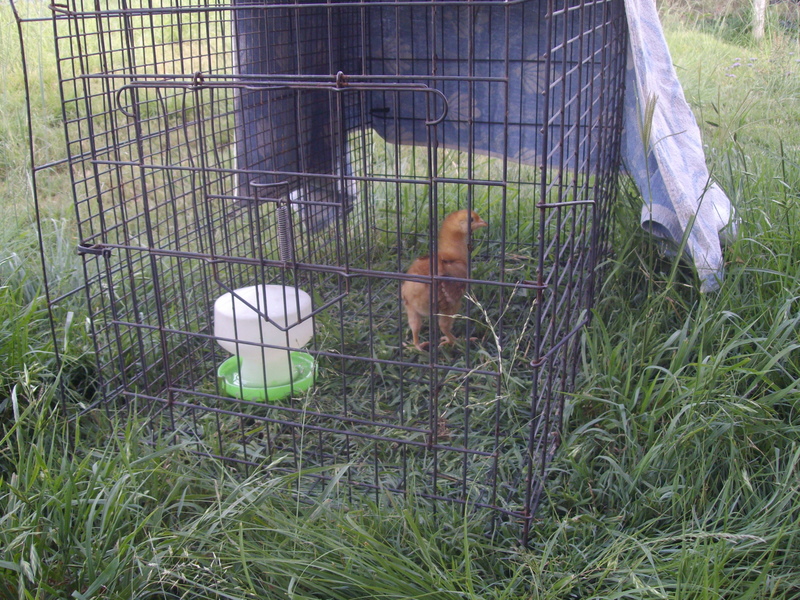
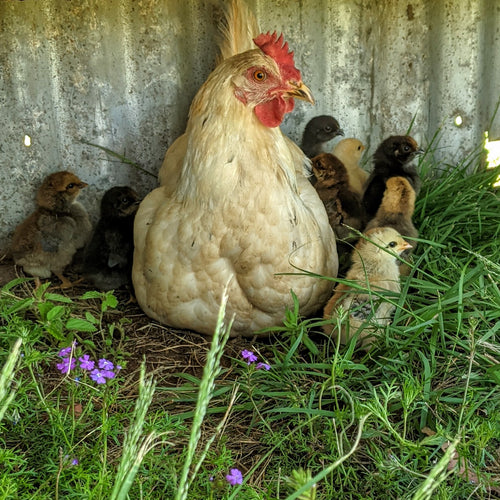
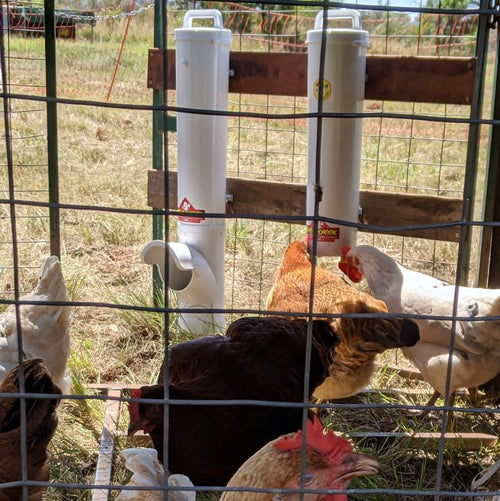
The chicks will also need food and water. We get a little "waterer" rather than a dish as they are so small they could hop in and drown in a dish. We also give them a small feeder so they don't mess up the food so much. We feed them chick crumble for the first few days, then a little cracked grain (borrowed from the cattle) and then some mixed grain, until they are big and hungry. After a few days they can also have a little greenery, such as grass, lettuce or silverbeet. When the chicks first hatch they don't need food and water right away, they can stay in the incubator for 24 hours to recover in the nice warm environment before they go into their new brooder box. As soon as the chicks go into the box we try to teach them to eat by tapping the floor of the box with an index finger as if its a chick pecking at the food. When we see them start to eat we know that they're going to be ok. This is best when there are a few chicks, as at least one will be smart enough to figure it out so that the others can copy, with one chick, you just have to hope he's a smart one. I also show them the water by putting a drop on my finger and putting on the chick's beak.
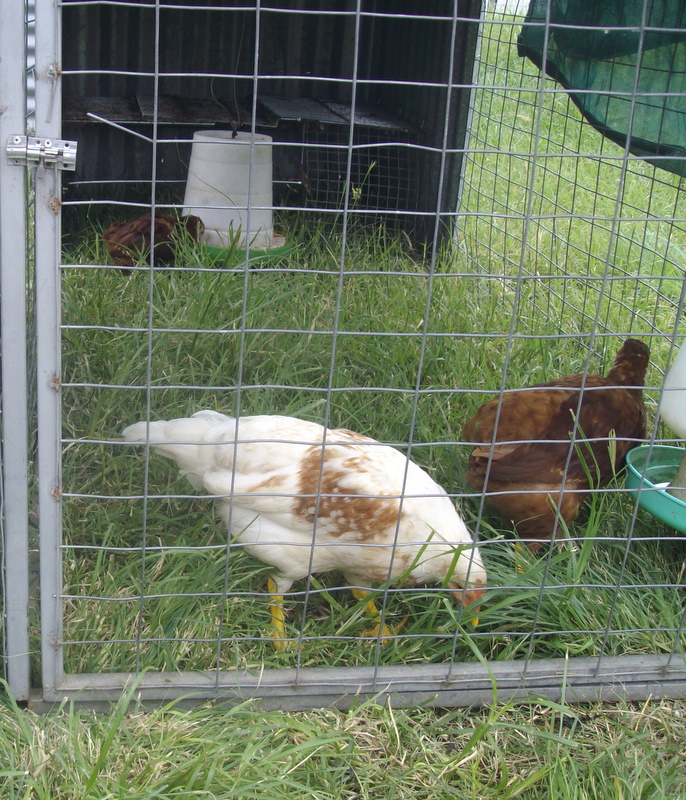
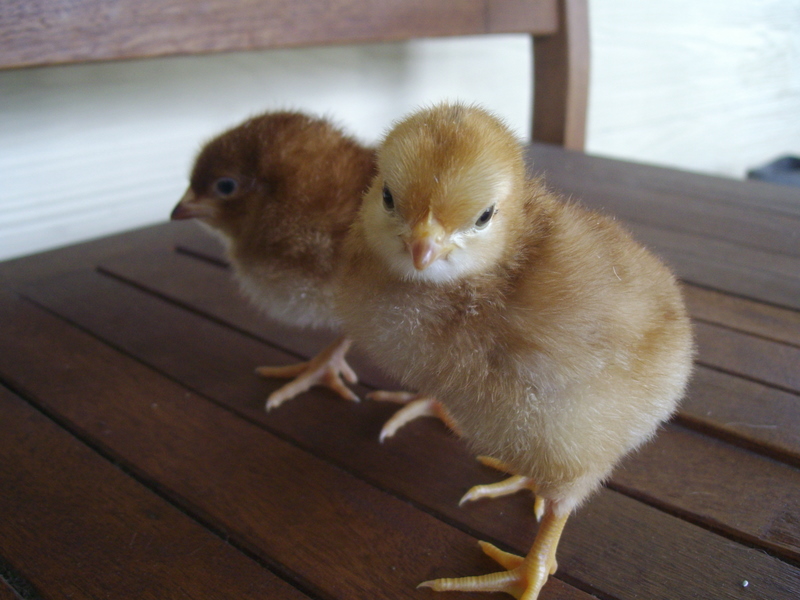
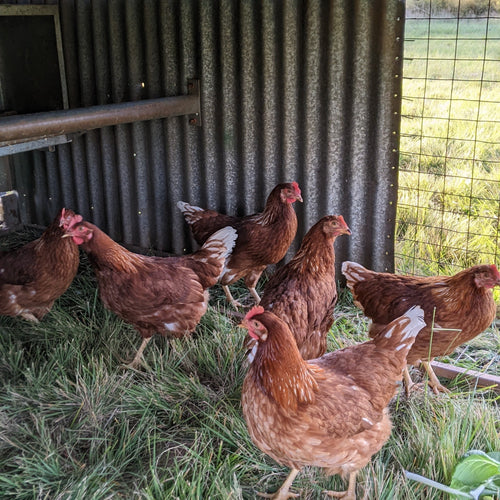
After a couple of weeks, you can usually tell the males and females apart, particularly if they are all the same age and the same breed, all the males will have little tails earlier than the females, and larger combs and wattles. If he have a big hatch, we will then separate the hens from the roosters. This lets the young hens get used to each other and makes it easier to put a small group of young hens in with the older hens later on, as they at least have some mates and won't get picked on so bad.
Do you raise chickens from chicks? Any tips?
Here's an update on raising chicks with a few more details.

Share this
Recent Posts


eBooks By Eight Acres
View all


Related Posts
-
Should I be worried about bird flu in Australia?
Jump to the end if you just want a summary, or read the whole story about why we've bought more laying hens (read mor...
-

Why do chickens stop laying eggs in winter?
Chickens naturally stop laying eggs in winter. Actually when you think about it, the fact that they lay an egg a day...
-

Backyard Chickens - where to start!
Backyard chickens are said to be the “gateway” animal to more serious homesteading. They are small and easy to care f...
-
Hatching chicks - incubator vs mama hen
Over the years I've hatched hundreds of chicks using an electric incubator, but I never used a clucky hen to hatch ch...
-
Chicken feed and water options
Chickens are really easy to look after. They only need a few things - somewhere warm and dry to sleep and lay eggs, r...
-

Butchering Poultry
Last weekend we got up early and prepared for a morning of killing poultry, not my ideal Saturday morning, but the ti...
-

Using electric fence chicken netting (and chicken tractors)
We recently started using electric fence netting with our chicken tractors and we are very happy with the results. In...


Leave a comment