Butchering Poultry
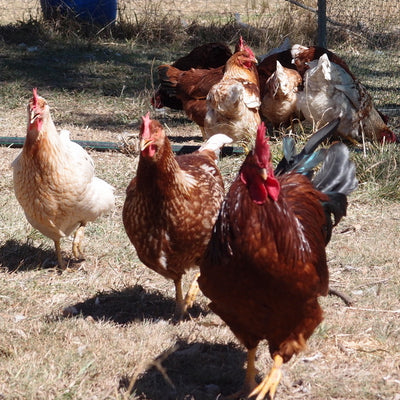
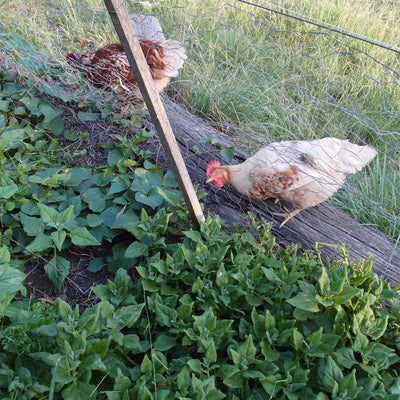
Last weekend we got up early and prepared for a morning of killing poultry, not my ideal Saturday morning, but the time had come, we were going through too much food and not getting enough eggs. We had bred new hens, so it was time for the eldest of the flock to go. This is never easy, but its part of farming.
(Republished from June 2011)
We don't keep the chickens for pets, so we always know that one day we will kill them. If you're a chicken-lover, you might find this hard to read, but if you EAT chicken, even free-range or organic etc, you should read on, as I guarantee that home-killed chickens have a much nicer life and death than any commercially produced chicken, and you should take an interest in where you meat comes from. This is put well on the site I linked to below:
Most people these days have become so removed from the reality of food production. As a result, we are practically helpless at providing our own food. We depend on the Industrial Providers to supply us with chicken, and just about everything else we eat. In recent years I’ve come to realize that it not necessarily a good thing to be so dependent, especially as food production has become so global. I want to become more food independent. When you grow your own food, it’s safer. It’s better for you. And it sure is a whole lot more satisfying. http://www.butcherachicken.blogspot.com/

This time we had two turkey gobblers and three old hens to kill. There's plenty of good explanations on the net (and another one) that go through the process step by step, and of course there's lots of different options depending on how many you're killing, how often, your budget etc. I'm just going to tell you how we do it.
How to kill, pluck, gut and prepare poultry to eat
Things you will need to get organised before you start:
- (Optional) a strong piece of wire to make a hook to catch the chickens, especially good for feisty roosters
- An ax or machete or clever to chop off its head
- Chopping block (large block of wood will do)
- Somewhere to hang the birds to bleed out - we wrap wire around their legs and hang them off a fence
- Some method of dunking the bird in hot water to loosen the feathers before plucking - we use a crab pot on a gas burner, the water should be about 80 degC
- Somewhere to put all the feathers so you don't make a massive mess - we use an old feed sack, and then put them in the compost
- As for all food preparation, cleanliness is absolutely crucial. Before you even catch the chicken, you need to prepare an area for the gutting and cutting. I usually get the kitchen bench clean, and put out all the bowls, knives, chopping boards, newspaper and plastic bags that I'll need. There's nothing worse than coming inside with a dead chicken and trying to get everything ready!
- Prepare everything you'll need for the killing and plucking. See the list above. Get your hot water ready early on as it may take a while to heat up.
- Catch the chicken, chop off its head as cleanly as possible and hang it up to drain the blood, this takes 10-30 minutes, so kill the rest of the chickens and get them hanging up before moving on. This means that the best time for killing is early morning, while its cold and before the flies and ants get moving.
- Dunk the chickens in hot water for 20-30s, hang them back up and pluck all the feathers. Its best to pluck in the direction of growth, so you don't break off the feathers and have to pick out the stubs as well. The tail and wing feathers will be tough and may have to come out one by one.
- Tidy up the legs and the neck with your ax etc.
- Bring the chicken to your cutting area. This is where you have to be very careful to keep things clean and separate the gutting from the cutting. While you're gutting there is a chance of getting chicken poo on your knife and board, so you need to move to a separate knife and board when you're ready to cut the chicken into pieces or prepare for roasting/freezing.
- For me, the gutting is the hardest part, as you need to cut very precisely to avoid getting poo everywhere! There are some very good explanations on the net, and I don't have much to add, except to say, that if you do cut in the wrong place, its not the end of the world, you can finish gutting and then just wash the chicken in cold water, but its much nicer if you manage to do it properly! Note for the turkeys: the crop is much larger than a chicken's crop, I cut into the first one by mistake because I couldn't find the edges of it, so expect it to be huge and that will help!
- When you've finished gutting, you pretty much have a chicken that looks just like a bought one and you can treat it the same as you would any chicken. Which has also been explained elsewhere, see Craving Fresh for a good one.
1 comment
Share this
Recent Posts


eBooks By Eight Acres
View all


Related Posts
-
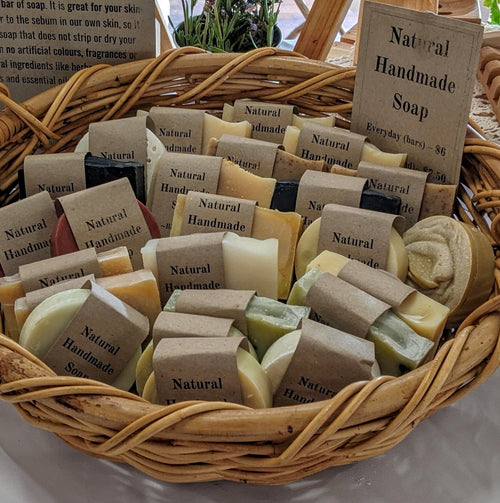
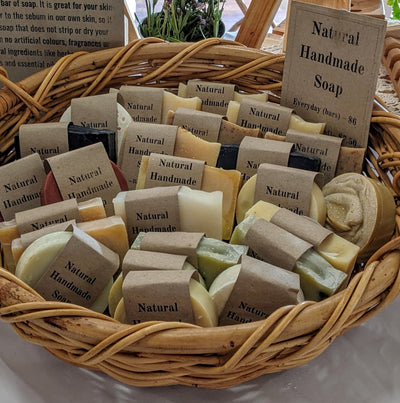
Eight Acres Soap is Different!
The mass-produced soap that you buy at the supermarket likely contains all sorts of synthetic colours, fragrances and...
-
Keeping our house cool in summer
As Australian summers seem to be getting hotter and electricity prices are increasing, we need to look for passive te...
-

Ten renovation projects you can start while in quarantine
Chances are, you’ve recently had to grapple with the reality of quarantine, or at least spending more time at home, a...
-

A winter linen shawl
Each year as the weather cools, I get the urge to pick up my knitting needles and crochet hook again. I usually rumma...
-

Making our bee boxes last longer - without copper napthalate
In Australia, bee boxes are usually made from hoop pine, which is an inexpensive soft wood. The only problem is that ...


After butchering the poultry it is best to put then in fridge for a few days to allow the muscles to relax beofre cooking. It makes for more tender meat
Leave a comment