Butchering Homegrown Chickens
This post does contain photos of dead chickens and bits of chicken guts in the interests of explaining how we kill, gut and butcher our own homegrown chickens. I make no apologies for this, just warning you. If you are considering killing a chicken, you should be able to at least look at the photos, or you're going to get a shock when you get started. If you have done it before it will be nothing you haven't see before and you might be able to give me some tips.
A few weekends ago we decided it was time to kill the first of the two roosters that we hatched last spring. They would have been about 6 months old, one Rhode Is Red and one Rhode Is Red / White Leghorn cross. People who raise meat chickens can have them ready to eat in about 7 weeks and ours take an awful lot longer and probably eat more along the way and don’t get as big, but we have a few good reasons to stick with the pure bred birds:
Cooking old chooks
Cooking the chooks

A few weekends ago we decided it was time to kill the first of the two roosters that we hatched last spring. They would have been about 6 months old, one Rhode Is Red and one Rhode Is Red / White Leghorn cross. People who raise meat chickens can have them ready to eat in about 7 weeks and ours take an awful lot longer and probably eat more along the way and don’t get as big, but we have a few good reasons to stick with the pure bred birds:
- At first the roosters were more the by-product of trying to breed more hens, rather than trying to raise chickens for meat
- If we want to breed and keep both good layers and good eaters, we need to get a dual purpose breed, that’s why we went for Rhode Is Reds (the White Leghorns are better for eggs, and you can still eat them, just a bit smaller frame)
- We could buy chicks, but then we are relying on someone else to breed them for us (and if it’s a commercial breed, that someone else is the same corporation that treats its meat chickens really badly and the whole reason for raising our own!)
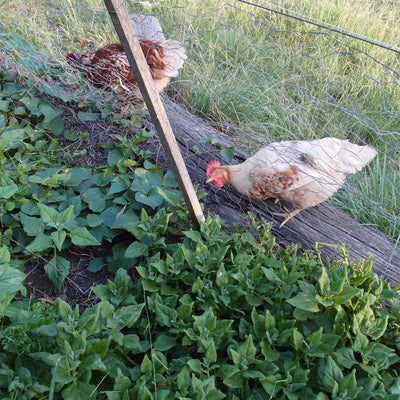
- We let the chickens free-range as much as possible and are working on ways to reduce their bought feed (e.g. the worm farm)

I’ve written a post before about butchering our chickens, but I realised that I missed out a few details that might be useful, and I’ve taken some more photos this time.
Preparations
Before we even catch the chicken, we have a few things to get ready. I usually take care of the kitchen – clearing the bench, setting out chopping boards, sharpening knives and preparing some newspaper and plastic bag for the guts. Farmer Pete sharpens the axe, finds the chopping block and the chicken catcher, sets up the gas burner, cleans the crab pot and gets the water heating.
Catching the chickens
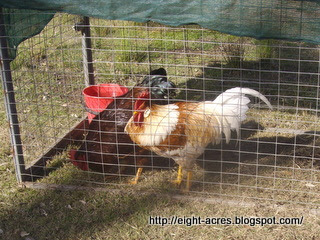
As the roosters are usually a few months old by this time, they are already a little aggressive and not very happy about being picked up. I am fine with climbing inside a cage of hens and catching the one I want, but I am far more wary of roosters, even young ones. This is where we use the “chicken catcher”, its just a length of strong wire bent into a hook, which we use to hook the rooster by his leg, basically just tripping him up and holding him still until you can grab him around the body.
 |
| the chicken catching wire |
Killing the chickens
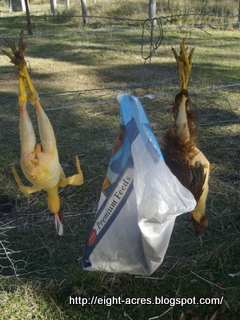
Usually I hold the rooster by both legs with his head on the chopping block. He will usually extend his neck naturally and then Farmer Pete can chop off his head with the axe. I have to hold on as the rooster starts to flap (I prefer NOT to let it run around, that’s just gross!). Then we hang it up by the legs on the fence to bleed out.
 |
| hanging up the bleed out, the crab pot and burner in the foreground |
Plucking the chickens
After the rooster has bled out for about 10 minutes, we dunk them in a crab pot of hot water (close to boiling, when lots of steam is coming off, we never measure the temperature!) for about 1 minute (just counting out-loud). We then hang the chicken back on the fence and start plucking feathers. We have an old feed sack to put the feathers into as we go, otherwise it makes a huge mess (they end up in the compost when we’re finished). We are getting quicker at plucking – only 10-15 minutes per bird. If they have been dunked long and hot enough the feathers should come out pretty easily.
 |
| plucking... |
Dressing the chickens
When we are satisfied that enough feathers are removed (and the pin feathers are impossible without scorching the bird to remove them, we just leave them, but don’t usually eat the skin anyway), I take the bird inside to the kitchen. We have worked on them outside in the past, but I just find it easier to have running water right there to wash out the chicken and to clean the knives as a go. Once inside I just cut around the vent, cut out the crop and then pull out all the guts, as I explained in the previous
post.
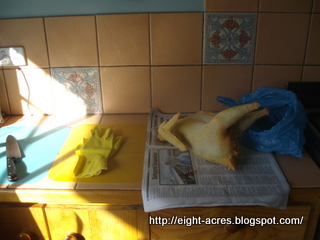 |
| butchering |
Which bits are which?
In the past we have just thrown away (in the wheelie bin) all the bits that we didn’t want to eat, including all the intestines, liver, kidney, necks and random flaps of skin. We don’t feed any of it to the dogs because we don’t want them to get a taste for it and start helping themselves. This time I decided that I wanted to keep the liver so that I could try to make pate, and as I wasn’t totally sure which was the liver, I pulled out all the other bits and had a good look at them just to be sure. Its funny how simple a chicken is on the inside really!
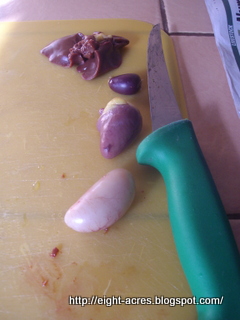 |
| From the top, I think its liver, kidney, heart and lung |
I kept the two livers and the kidneys in a bag in the freezer (until I have enough livers – and courage – to try the recipe). This time I also kept the necks for when I make stock. I did consider keeping the feet, but they were so dirty, dirt under the nails and everything, I didn’t feel like trying to clean them. I was also going to bury the intestines, feet and heads in a hole in the garden (as its dog proof) instead of throwing them away, but I forgot and they got bundled into the bin again. At least we kept more than we usually do.
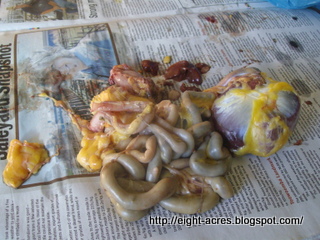 |
| the guts on the left, and the gizzard on the right |
Resting the meat
I have read different ideas about whether the meat should be rested, but we usually put the chicken in the fridge for a couple of days before it goes in the freezer. This is supposed to rest the meat and let it go through rigor mortis and back to soft meat again before it gets frozen. I know that in the “old days” people used to kill a chicken in the morning to eat for lunch, but was that because they didn’t have refrigeration? Anyway, it works for us.
The Rhode Island Red chicken weighed 1.7 kg, while his cross-bred brother was only 1.5 kg.. We haven’t eaten them yet, but I do look forward to it. We pretty much only eat chicken that we have raised, and if I do have a bit of commercial chicken I can taste the difference, or rather NOT taste anything, commercial chicken breast meat is bland, dry, mushy and weird white colour. Our chickens are tasty, juicy, with a meat texture (not stringy, but you know you’re eating meat, not mush) and the leg meat is a lovely dark brown when cooked. We cook ours either roasted whole, or in pieces as a casserole. There is no need to cook young roosters (less than one year old or so) for a long time, they are not tough as long as they have been cared for correctly (i.e. not too old, well fed, not stressed). Our older chickens can be tough, but 12 hours in a slow cooker will produce a very tasty meal (apparently coq au vin is supposed to be cooked with an aged rooster for added taste!).
Any tips? Any questions?
More information about cooking homegrown chickens:
Raising chickens for meat
Any tips? Any questions?
More information about cooking homegrown chickens:
Raising chickens for meat
Cooking old chooks
Cooking the chooks
By the way, my chicken eBook is now available if you want to know more about backyard chickens and using chicken tractors. More information over at the chicken tractor ebook blog. Or you can get it directly from my shop on Etsy (.pdf format), or Amazon Kindle or just send me an email eight.acres.liz {at} gmail.com.

What's the eBook about?
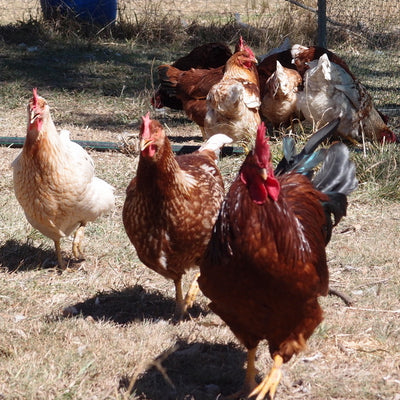
Chickens in a confined coop can end up living in an unpleasant dust-bowl, but allowing chickens to free-range can result in chickens getting into gardens and expose them to predators.
A movable cage or “chicken tractor” is the best of both options – the chickens are safe, have access to clean grass, fresh air and bugs. Feed costs are reduced, chickens are happier, and egg production increases.
But how do you build a chicken tractor? What aspects should be considered in designing and using a chicken tractor effectively? In this eBook I aim to explain how to make a chicken tractor work for you in your environment to meet your goals for keeping chickens.
I also list what I have learnt over 10 years of keeping chickens in tractors of various designs and sizes, from hatching chicks, through to butchering roosters.
Reviews of the Design and Use a Chicken Tractor
Share this
Recent Posts


eBooks By Eight Acres
View all


Related Posts
-

Why do chickens stop laying eggs in winter?
Chickens naturally stop laying eggs in winter. Actually when you think about it, the fact that they lay an egg a day...
-

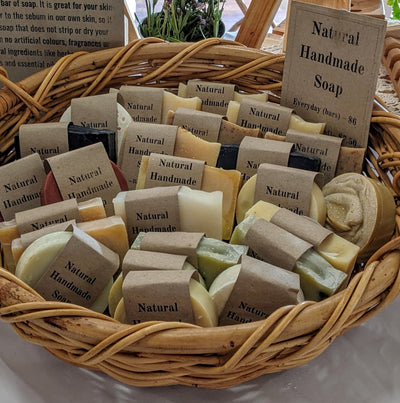
Why use natural soaps and salves?
It seems that soap has a bad reputation, but I think its all you need to use. I keep thinking about when one of my u...
-
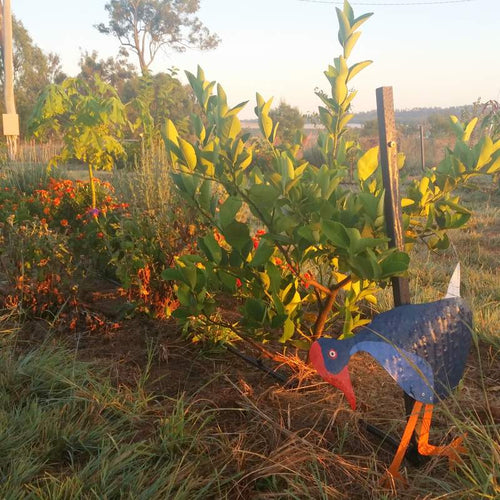
Our Food Forest after one year
We finally planted our food forest one year ago (you can read all about it here). It was a long time in the planning....
-

Making our bee boxes last longer - without copper napthalate
In Australia, bee boxes are usually made from hoop pine, which is an inexpensive soft wood. The only problem is that ...
-

Book review: Waste Not - make a big difference by throwing less away
I have been following Erin Rhoad's blog The Rogue Ginger for years, and I love her clever tips for reducing waste. I...


Leave a comment