Tanning another hide
When we have a steer butchered we like to try to use every part of the animal. We eat the meat and some of the offal, the dogs get the bones and the rest of the offal, we render the tallow and tan the hide. The only waste is the head, which we bury, so at least it enriches the soil.
Tanning the hid is a big job. This our third hide, so we are getting better at the process every time. I posted some detailed instructions (here and here) when we did the last hide this time last year. The most important thing to get the hide spread out somewhere safe and dry and covered in salt as soon as possible after the animal is skinned. If the hide is dried out sufficiently it will last for months, and we have found that it actually improves as it dries. This hide was in the shed since August, so it was about 5 months, and it was very stiff and dry, which made it easier to work.
In the past we have fleshed the hide using a scraping tool, which took several days and was very hard work. This time Pete used a grinder with a wire brush attachment, and finished the job in 2 hours! I helped by holding the hide taught over a log. My only recommendation is to do this away from the house, as it made a bit of a mess and didn't smell too good for a few days! We had dried using an orbital sander on previous hides and it didn't work because the hide was still too wet, so it is best to wait for the hide to dry completely if you want to use a power tool. I think its good to know that we can do it with hand-tools, and I did quite enjoy the exercise and the time spent talking as we worked the hide last time. The power tool was so much quicker and easier, it would be crazy to go back to the hand tool, but it was a bit sad that we both had ear plugs in and couldn't really talk while we worked.


After we finished fleshing we rinsed the hide using the pressure cleaner to remove most of the blood and dirt and then put the hide in a wheelie bin of water and detergent to degrease it. It can be difficult to fold a stiff dry hide into a wheelie bin, but it does soften as it gets wet and then only fills half the bin, so don't give up!


Tanning the hid is a big job. This our third hide, so we are getting better at the process every time. I posted some detailed instructions (here and here) when we did the last hide this time last year. The most important thing to get the hide spread out somewhere safe and dry and covered in salt as soon as possible after the animal is skinned. If the hide is dried out sufficiently it will last for months, and we have found that it actually improves as it dries. This hide was in the shed since August, so it was about 5 months, and it was very stiff and dry, which made it easier to work.
In the past we have fleshed the hide using a scraping tool, which took several days and was very hard work. This time Pete used a grinder with a wire brush attachment, and finished the job in 2 hours! I helped by holding the hide taught over a log. My only recommendation is to do this away from the house, as it made a bit of a mess and didn't smell too good for a few days! We had dried using an orbital sander on previous hides and it didn't work because the hide was still too wet, so it is best to wait for the hide to dry completely if you want to use a power tool. I think its good to know that we can do it with hand-tools, and I did quite enjoy the exercise and the time spent talking as we worked the hide last time. The power tool was so much quicker and easier, it would be crazy to go back to the hand tool, but it was a bit sad that we both had ear plugs in and couldn't really talk while we worked.


 |
| this is the mess - dried flesh "snow" |
 |
| the dogs love to help with this sort of activity |
After we finished fleshing we rinsed the hide using the pressure cleaner to remove most of the blood and dirt and then put the hide in a wheelie bin of water and detergent to degrease it. It can be difficult to fold a stiff dry hide into a wheelie bin, but it does soften as it gets wet and then only fills half the bin, so don't give up!


We then took the hide out of the first wheelie bin, rinsed again, and put the hide into the wheelie bin of chrome solution. We have used the same solution for the past two hides and its probably the last time we'll use it as we had to dilute it to cover the hide. We left it into the chrome solution until we could see by cutting the edge of the hide that the chrome had fully penetrated.
Unfortunately this hide tanning story doesn't have a happy ending. The hide was not tanned after one week, so we left it in the solution another week, the HOT heat wave week, only to find that all the hair started to fall out. We shouldn't have tried to use the same solution three times, it had become too dilute, and the hot weather didn't help us. We had to dispose of the partially tanned hide, so we weren't able to find out if this method gave a smoother or softer result. I'm sharing this anyway, because it might help you to know that the angle grinder does a quicker and easier job of the fleshing. We will have to wait for our next steer kill and try again :(
Any tanning experience yourself?
Share this
Recent Posts


eBooks By Eight Acres
View all


Related Posts
-
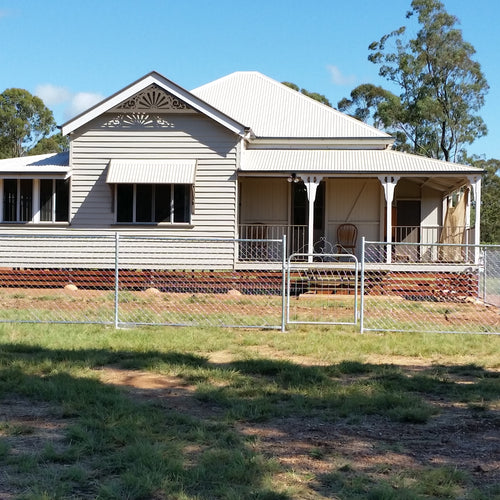
Renovating a Queenslander house - where to start??
We bought our 258 acres property with no house, knowing that we would eventually build a house so that we could live ...
-
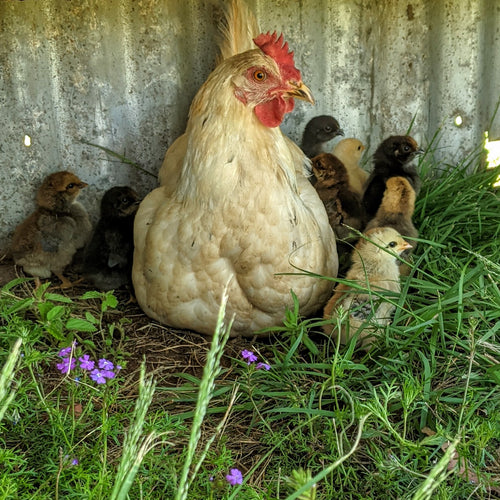
Hatching chicks - incubator vs mama hen
Over the years I've hatched hundreds of chicks using an electric incubator, but I never used a clucky hen to hatch ch...
-
Keeping our house cool in summer
As Australian summers seem to be getting hotter and electricity prices are increasing, we need to look for passive te...
-
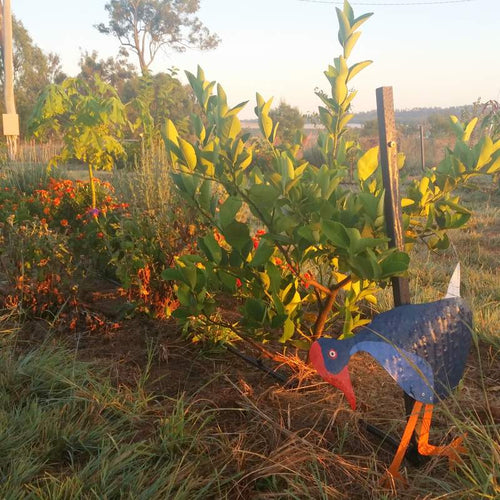
Our Food Forest after one year
We finally planted our food forest one year ago (you can read all about it here). It was a long time in the planning....
-

Forage crops, pasture, hay - isn't it just grass?
Every year, no matter if it rains or not, we need decisions to manage our stock feed through the winter. We need to e...
-

Plastic-free packaging
Everyday I make an effort to avoid single-use plastic in my life. I have a reusable drink bottle, a glass tea/coffee ...


Leave a comment