Project water tank shuffle - How to move a water tank
by Farmer Liz
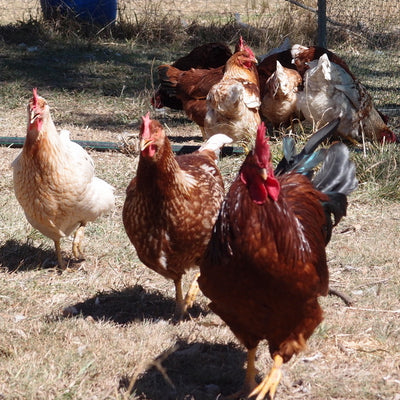
We finally decided it was time to replace our old water tanks. We've known we would need to do this since we moved in about four years ago. The first week we owned the house, Pete was whipper snipping around the tanks and they sprung several leaks! Since then we have regularly dealt with leaks by drilling in a tek screw. They were gradually getting worse, and we recently had a hail storm that resulted in multiple leaks and one of our roosters had realised that he could just peck the tank when he got thirsty and make a giant chicken nipple. Time to get some new ones!
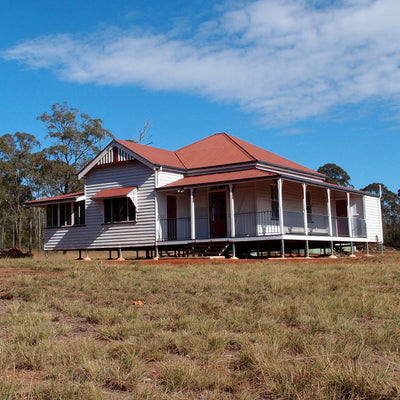
The reason the tanks were so leaky is that they were old metal tanks and must have been quite cheap at the time. They were very very rusty. The tanks store the rainwater that runs off our house and shed roofs. They are our only source of drinking and household water. Luckily we had one good tank that must have been installed later, so we knew we could just replace the two rusty ones, and we would always have the one other tank full of water while we were working on the replacement. Pete ordered new tanks and found out that they were 400 kg each, so then he started thinking about how we were going to move these tanks and get them into position....
The old tanks after we started digging up the plumbing
I'm going to show you some photos of how we moved the tanks, but I'm not going to tell you how to do it. I don't want any responsibility for anyone who tries to move tanks this way and hurts themselves or wrecks their tanks. Everyone told Pete that it wouldn't work, and they were wrong, it did work perfectly because Pete is good at his trade and careful in his work. If you look at these photos and still don't know how to move tanks, then you should pay a professional. But if these photos can help you to try something similar, using your own skills and tools, then that's great.
preparing the pad for the tanks
Pete built a clever trailer
Here's the first tank on the trailer ready to put in place on the pad
The new tanks in place
Cutting up the old tanks - they were too rust to use for anything
Pete did an amazing job of emptying one old tank into a new tank and then moving the old tank. He hoped to empty the second old tank into the first old tank after it was moved, but it was too leaky as even the bottom was rusty, so he had to put that water in our dam. He then moved the second tank. He did all of this while I was away! Then in the weekend we smoothed out the pad and moved the first new tank. We pumped the water from the other new tank into the first new tank. When it was empty, we moved the second new tank into place. Pete connected up all the plumbing and opened the valves to equalise the water in the new tanks and then connected all three tanks to the house supply and to the downpipes. Phew!
Now we just need some rain to test it all! We have about 2 full tanks of water, which is heaps really. I'm so proud of Pete for figuring out how to move the tanks. Have you moved anything ridiculously large and heavy lately?


Leave a comment