My new raised garden beds
We have been in our "new" house in Kumbia for nearly two years and thing I've missed the most is not having a proper garden (read about our secondhand house here). The vege garden I had at Nanango (Eight Acres) had just hit a productive high point, with lots of perennial plants and herbs and veges that self-seeded each season. I was watering it using greywater from our bath and washing machine, and there seemed to always be something to harvest, even it was just some herbs and leafy greens.
It was sad to leave that productive garden behind, knowing that I would have to start again at our new house. But it was also an opportunity try something different and put into practice some of the ideas I had read about and seen on other blogs. I wrote in detail here about my inspiration. Essentially I wanted combine raised beds, wicking beds and hugelkultur. In the meantime, I've been growing what I can in several large pots and trays on my potting table.

What took so long?
While I did buy the two raised beds several months ago (maybe over a year actually), but it had taken us a while to decide exactly where to put them. We also wanted to finish off our solar-bore pump pipeline to bring sufficient water to the garden (this is nearly done). When we rolled out the pipe and decided where to put the holding tank, the location for our garden beds became quite obvious, and from there is was a relatively quick process to set them up.
What's in the raised beds?
The beds are about 1 m high. The first layer is about 50 cm of clay soil from our property. Pete used the tractor to scoop it out of a pile and tip it into the garded beds, then I stamped it down with my boots and a crowbar. The purpose of this layer is to seal the bottom of the beds. I didn't want to use plastic as I hate how that breaks down in the garden, but I wanted a "wicking bed" effect.
I have also noticed that pots directly on the soil vs pots on concrete or removed from soil do better due to earthworms being able to access the soil in the pots. I didn't want to prevent contact between the soil in the beds and bare ground. We put the beds down on the grass and started filling them!


The second layer, about 20 cm is logs cut from a fallen tree, and sawdust from when our wooden floors were installed and sanded (yes, I have been hoarding bags of sawdust all that time!). The purpose of this layer is to absorb water, the saw dust will do that right away and the logs will gradually rot and contribute. I have a piece of 50mm ag-pipe laying on top of this section. It has holes drilled at regular intervals. We can water into this layer of the garden bed directly, which is handy for tipping in manky chicken bucket water, and also to keep this layer moist.
This is where the wicking bed and hugelkultur concepts come together. Using the clay to seal the bottom, we are watering into the hugelkultur/wood layer to build moisture below the vegetables, encouraging deeper roots and reducing water requirements overall. The water should "wick" up to the surface.


The final layer, about 30cm and piled as high as possible, is a mixture of rotted manure and hay scooped straight out of our cattle yards. Pete put two scoops in each bed. In the between I emptied out a tray of worm farm compost and sprinkled lime, dolomite and diatomaceous earth and organic fertiliser. If I'd had any wood ash handy I would have put it here too. At each layer I was also watering liberally to keep the dust down and start to soak each layer.
What did you plant?
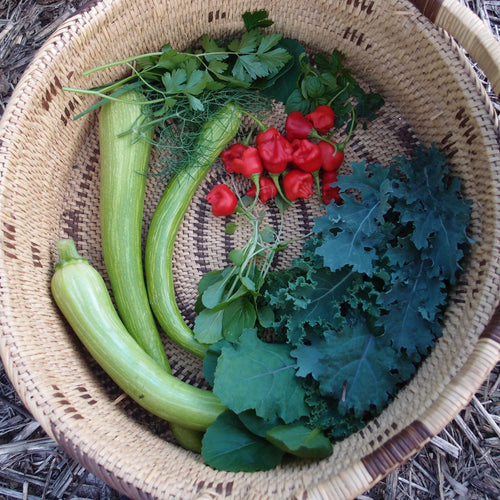
In one garden bed I planted a heap of perennials that I have been nursing along in pots - ceylon spinach, perennial leaks, borage and some lettuce seedlings.
In the second garden I sprinkled a mixture of seeds including - bok choy, pak choy, mizuna, red mustard, marigold, calendula, coriander and dill.
Unfortunately some of the plants in bed one died, I think I might have overdone the lime in that bed, however I have continued to plant into it, and its doing well now. Six weeks later and I am harvesting greens from bed two. I am SO HAPPY to have a garden again and to be able to pick fresh greens! That is what I missed the most.
I have now added peas, silverbeet, parsley, salvia (for the bees) and more seeds.
You can see more updated photos on my instagram stories feed here.
Have you started a vegetable garden? Any tips?
A few books that have inspired my garden:
These are Amazon affiliate links that help me to earn credit to buy more books!
3 comments
Share this
Recent Posts


eBooks By Eight Acres
View all


Related Posts
-
5 tips for growing your own veggies to save on your food bill
While mindlessly scrolling Facebook I saw a post which was an article from 2017 that had been reshared. The title of ...
-

Understanding Desalination: How to remove salt from bore water
Water security is a massive priority for us, particular in dry seasons. We have a few bores on our property, and at t...
-
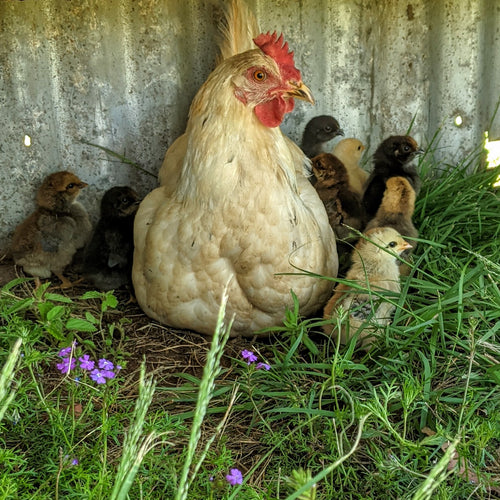
Hatching chicks - incubator vs mama hen
Over the years I've hatched hundreds of chicks using an electric incubator, but I never used a clucky hen to hatch ch...
-
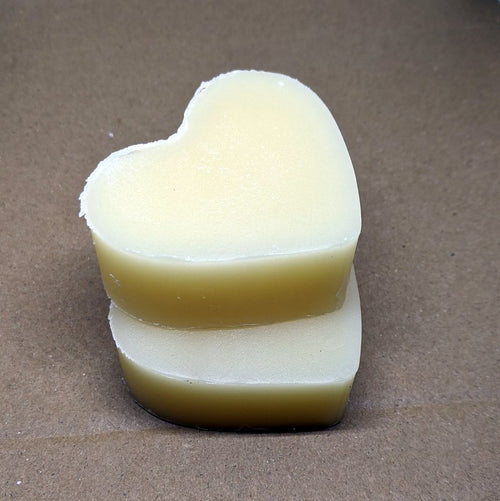
Plastic-free Conditioner Bars
After I started using a shampoo soap instead of shampoo in a plastic bottle, I really wanted to make a conditioner ba...
-

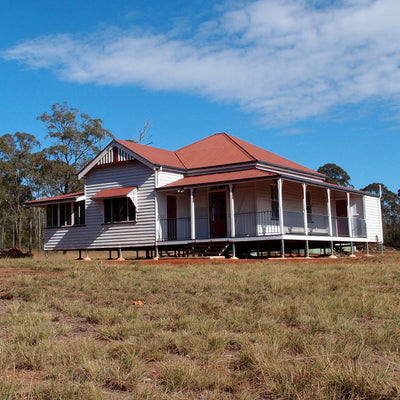
Removal house advice - where to start?
A removal house is a great way to quickly put a house up on a bare block of land. For us it bypassed all the decision...
-

Butchering Poultry
Last weekend we got up early and prepared for a morning of killing poultry, not my ideal Saturday morning, but the ti...


Thank you so much for this post. I have been thinking about combining ‘hügelkultu and wicking beds for a while but wasn’t sure how to go about it and if it would work. I was concerned that the water would not wick up with no soil but this seems to have worked. This is so helpful.
Hi Nanna,
What is the thinking behind the newspaper at the top under the mulch?
And hi Liz,
I’ve been told that the hugelkulture won’t work well in our area because of the termites. Have you had any problems in that regard?
Oh and looking forward to trying out the soaps I bought from Sassy Mama the other day. 🤗
Cheers, Bron
Liz, I have a couple of raised beds and used Morag Gamble’s method of putting the newspaper at the top underneath the mulch instead of at the bottom. It seems to have worked well so far.
Leave a comment